Linking your stylesheets to your HTML
An essential part of styling web pages
-
As stated before, we're going to be modifying your code-skeleton to include a starting CSS file, that you can use in the future every time you duplicate your code-skeleton.
So, to start, identify where you code-skeleton folder is in your repository, and expand it in the Explorer Panel.
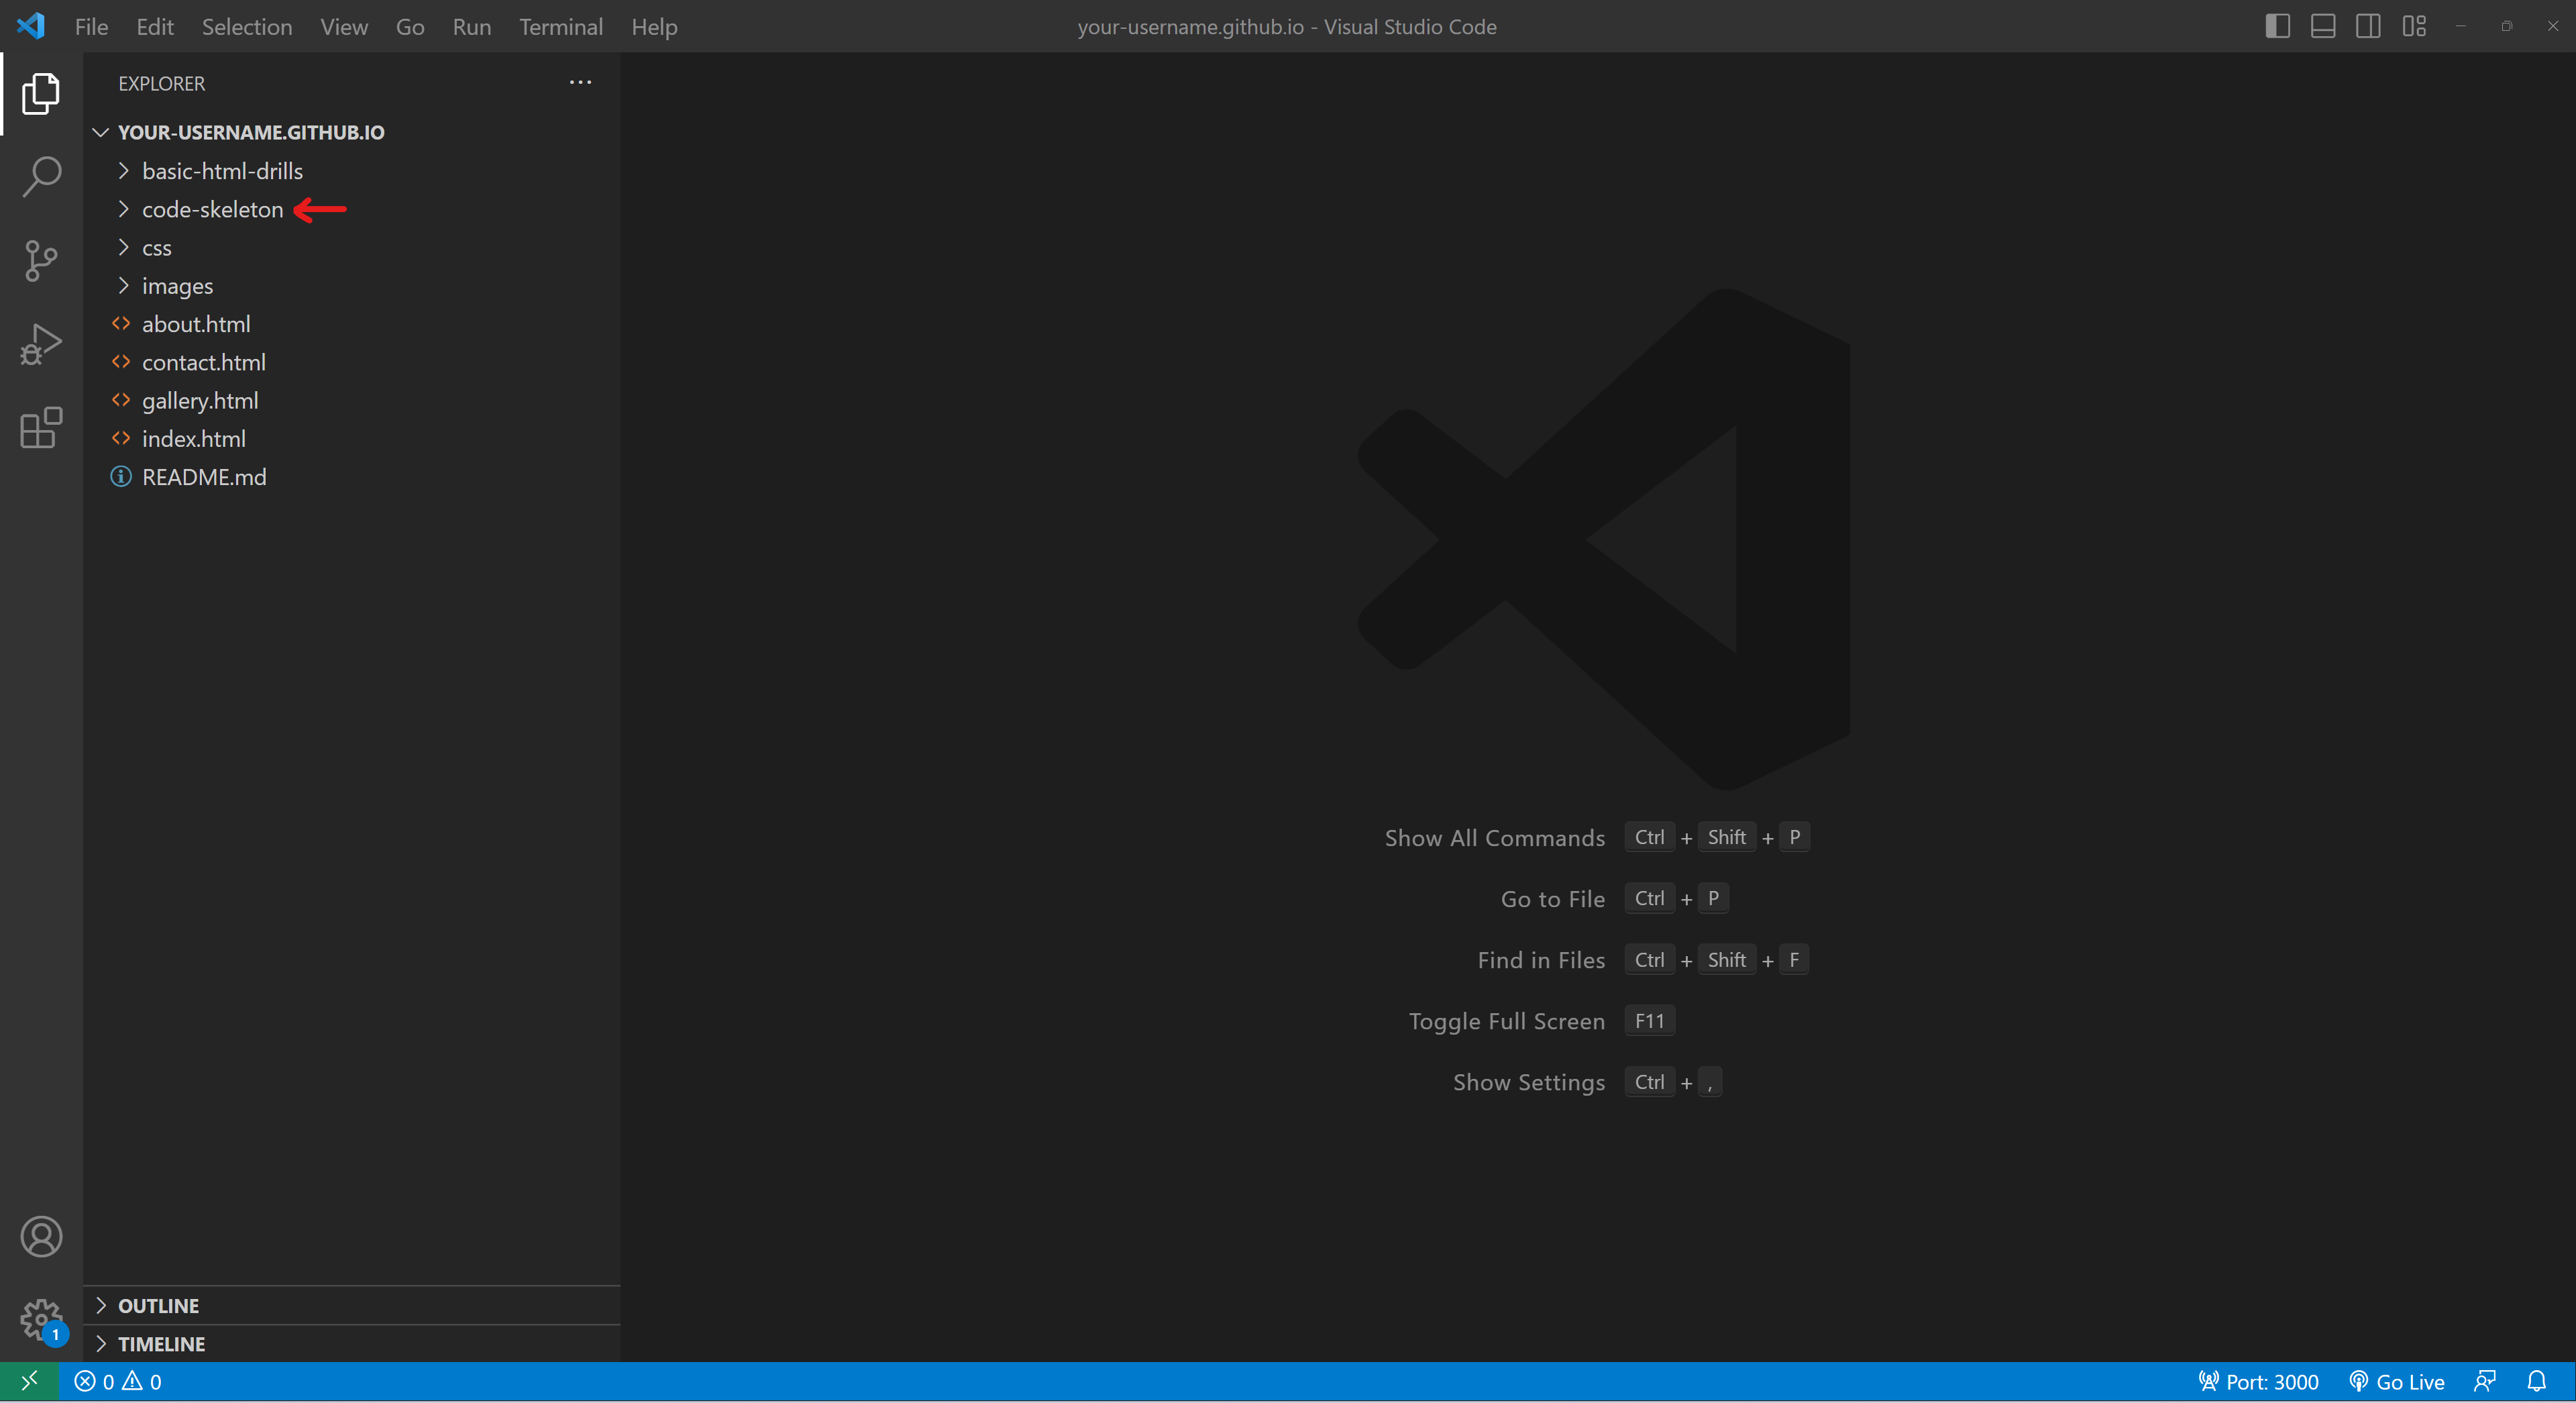
Identifying and expanding the code-skeleton folder -
After expanding the folder, open the index.html file, and right-click anywhere in the HTML code for the file.
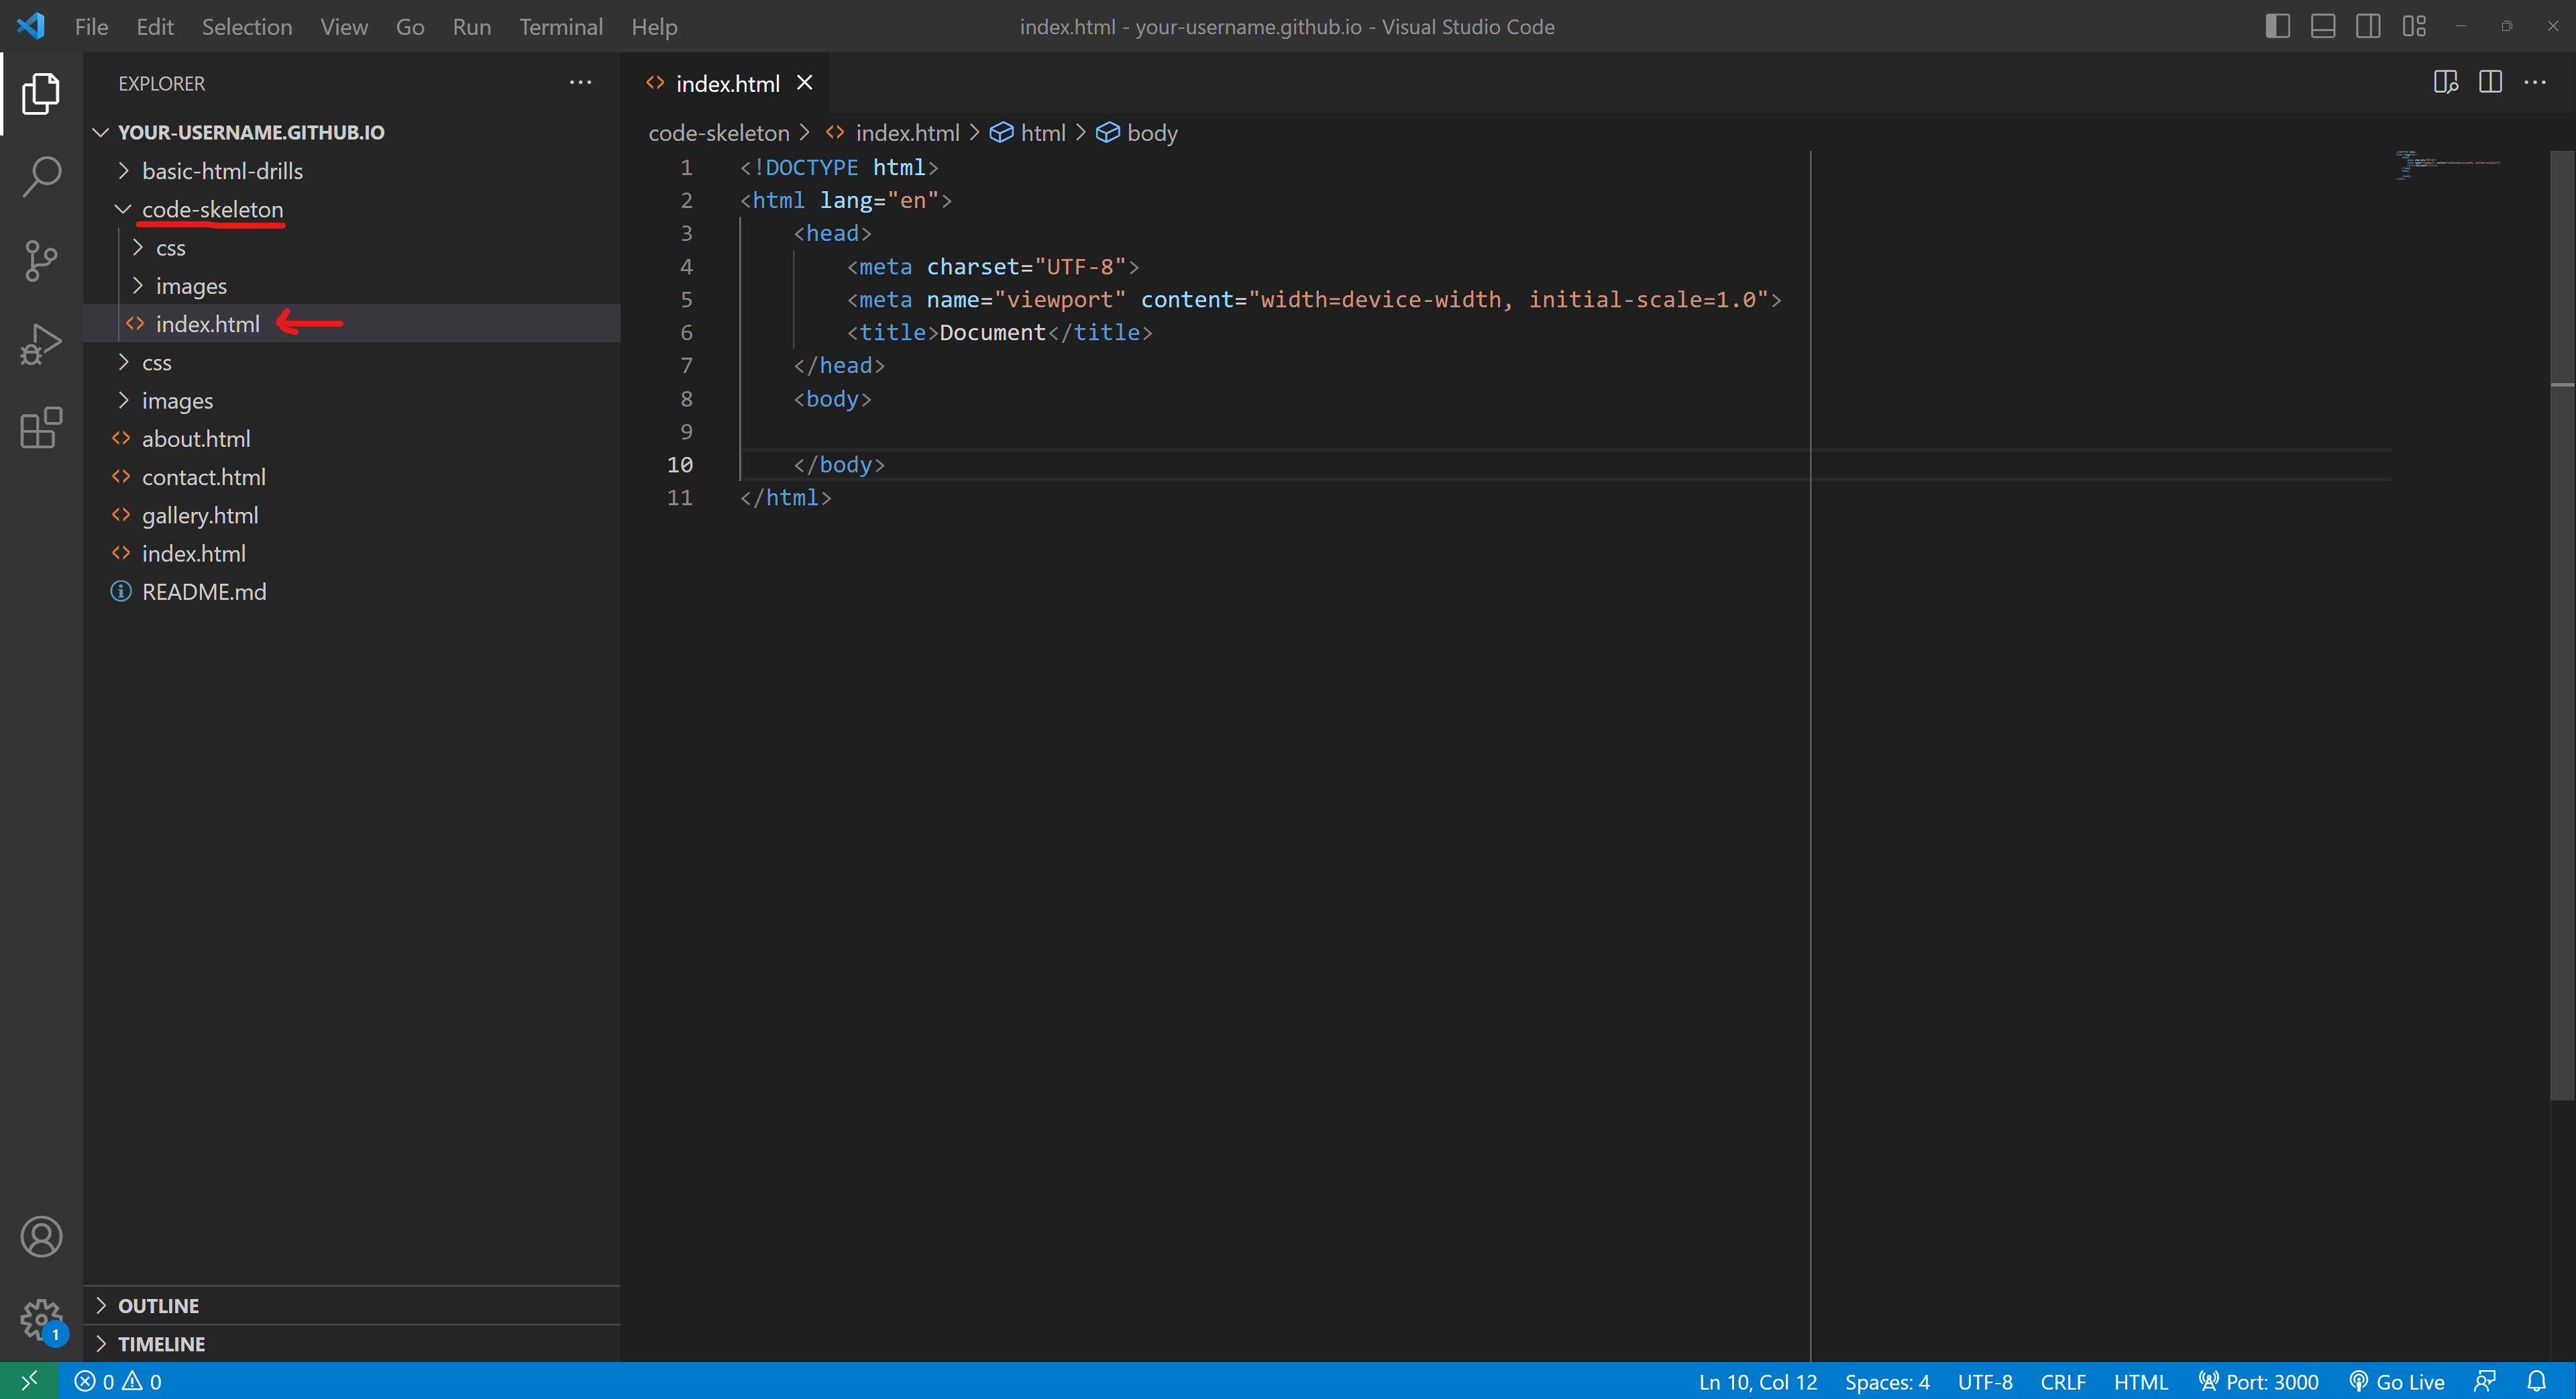
Opening index.html -
After right-clicking, select the option that says "Show Preview".
If you don't see that option, first make sure that you right-clicked inside the HTML code.
You can only preview an HTML file, with HTML code; nothing else. So if you click in the wrong file or wrong area, you won't get that preview option.
If you're sure you're right-clicking in the right place, you may not have installed the required Extensions in Visual Studio Code.
Jump back to the Setup Tutorial Part 1 , and go through the last step again, so that you'll be able to preview your code.If you previewed the page successfully, you'll see a new panel open with a blank page on it.
Success!
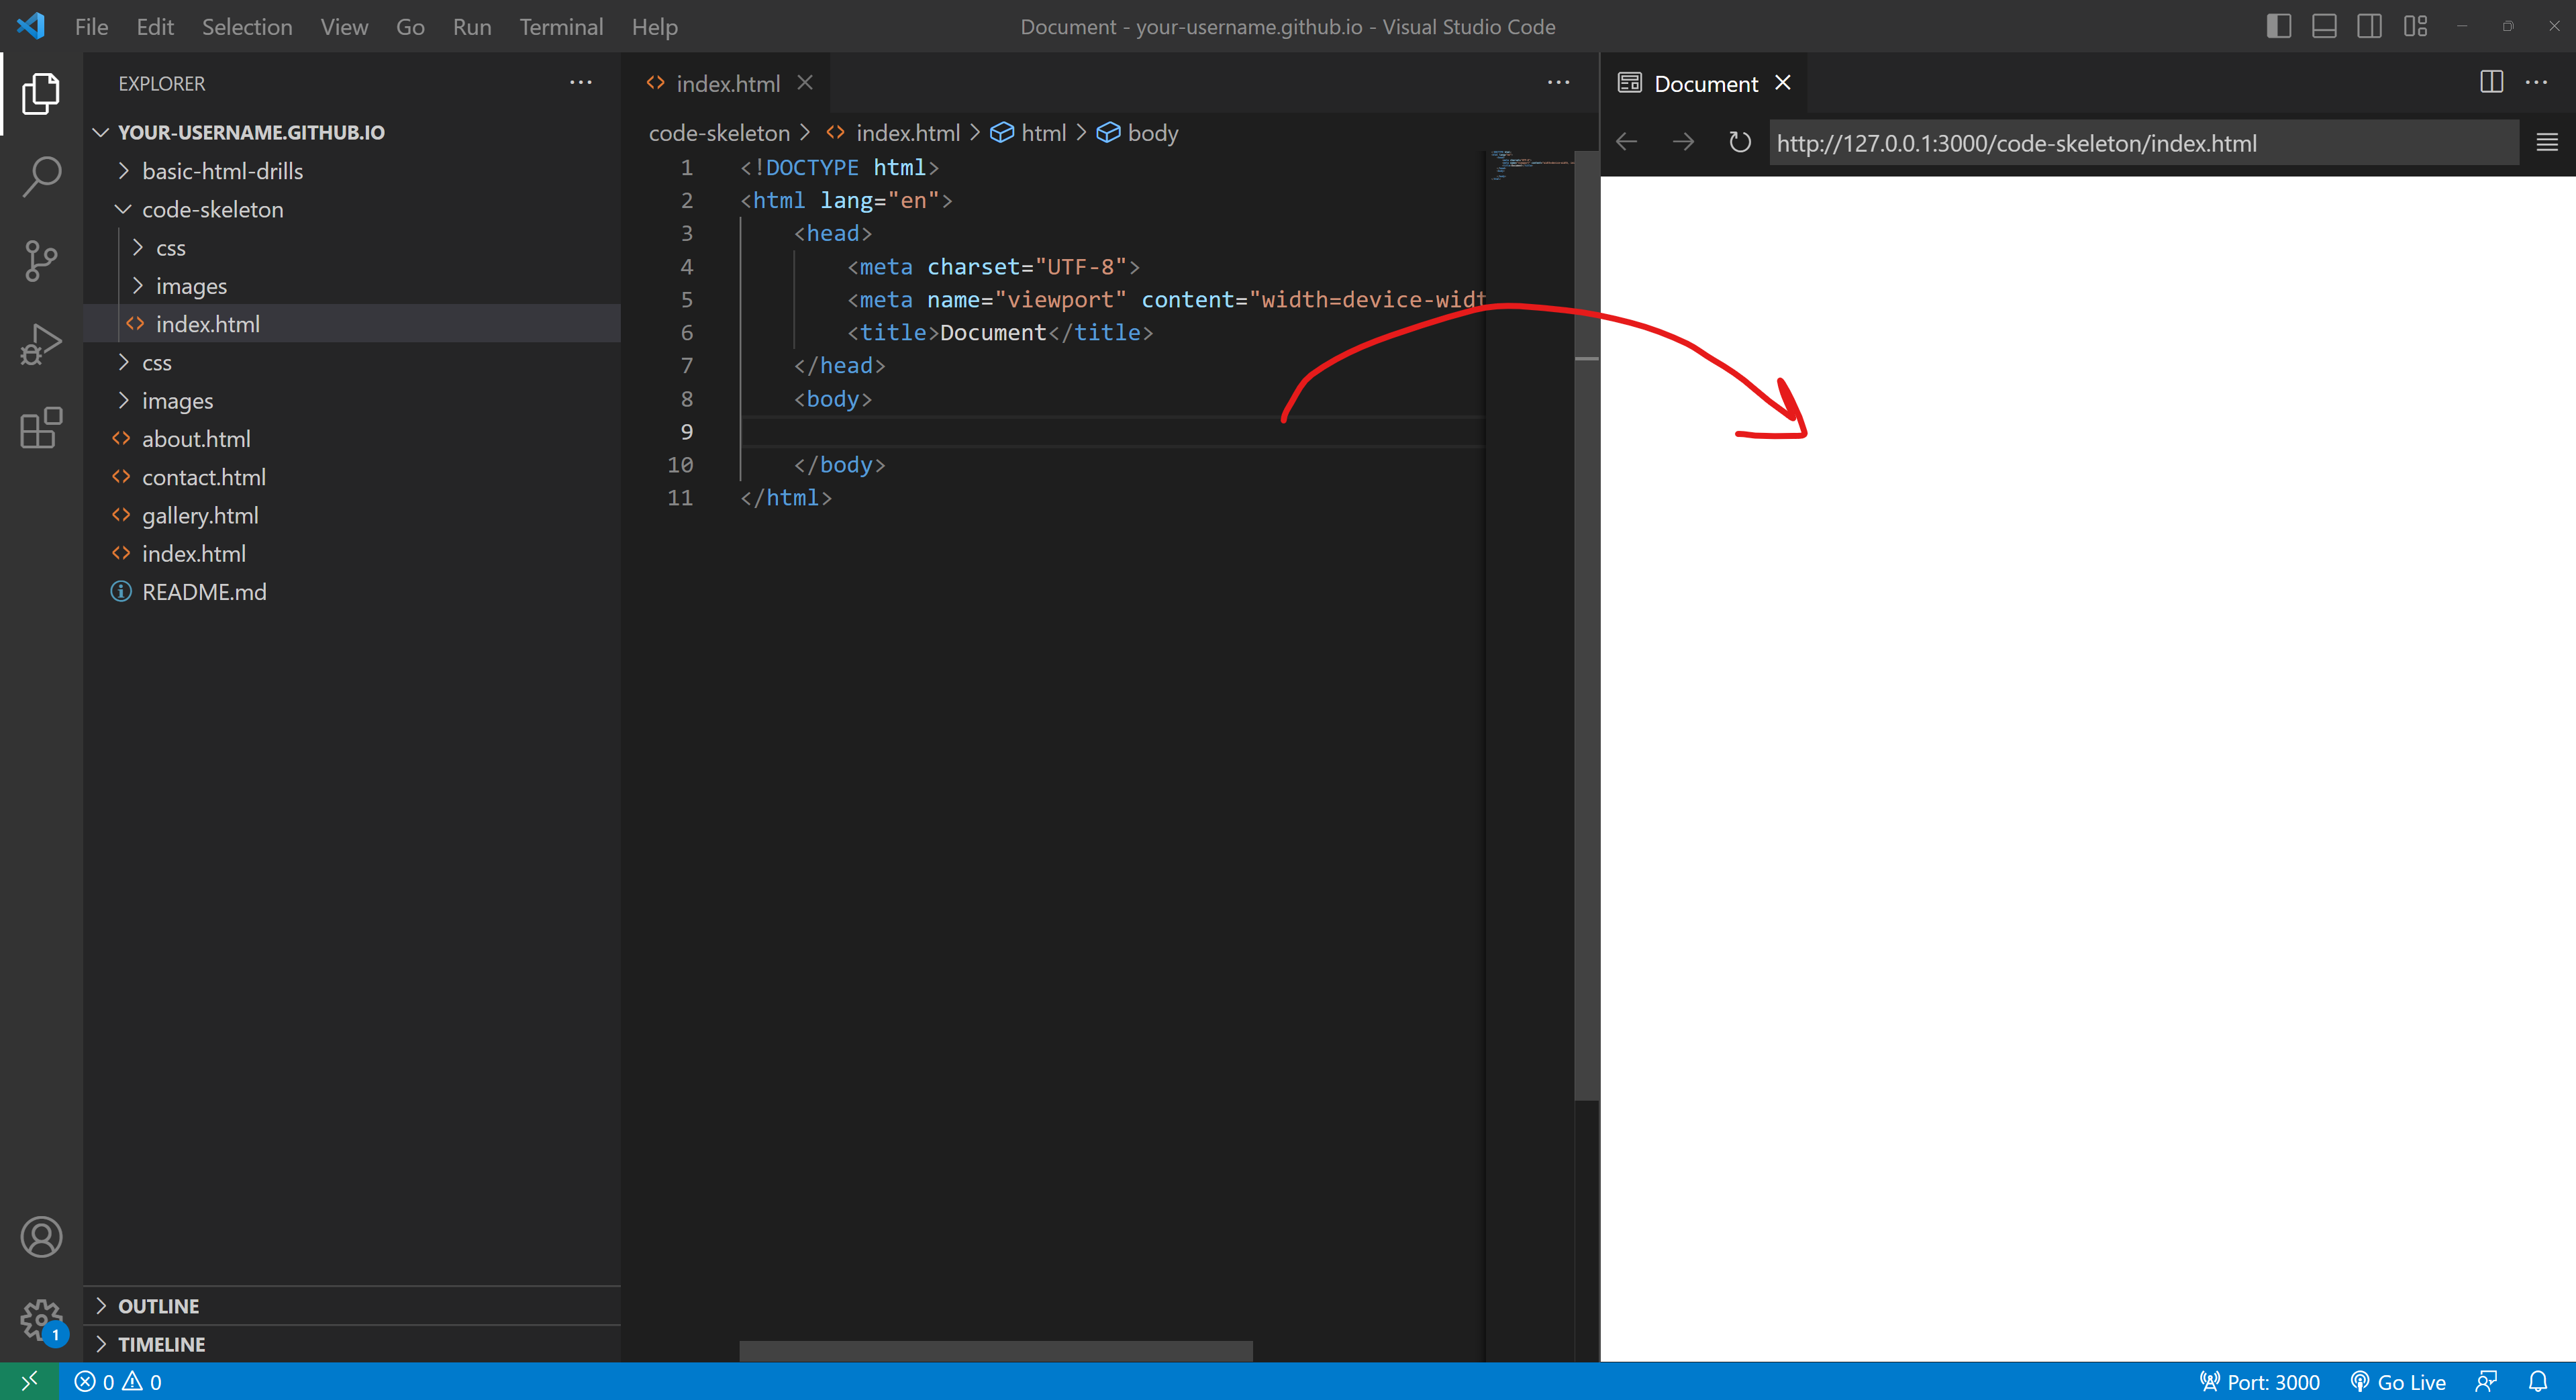
Previewing index.html for the Basic HTML Drills -
Next, we're going to create a new CSS file.
Back in the Explorer Panel, navigate to the "css" folder inside of code-skeleton.
Right-click on the "css" folder and select "New File..."
Name the new file "style.css".
The name doesn't actually matter much, so you can pick a different name if you like, but "style.css" is a convention we'll use often when we only have one CSS file.
However, you MUST include the file type of ".css" when naming the file.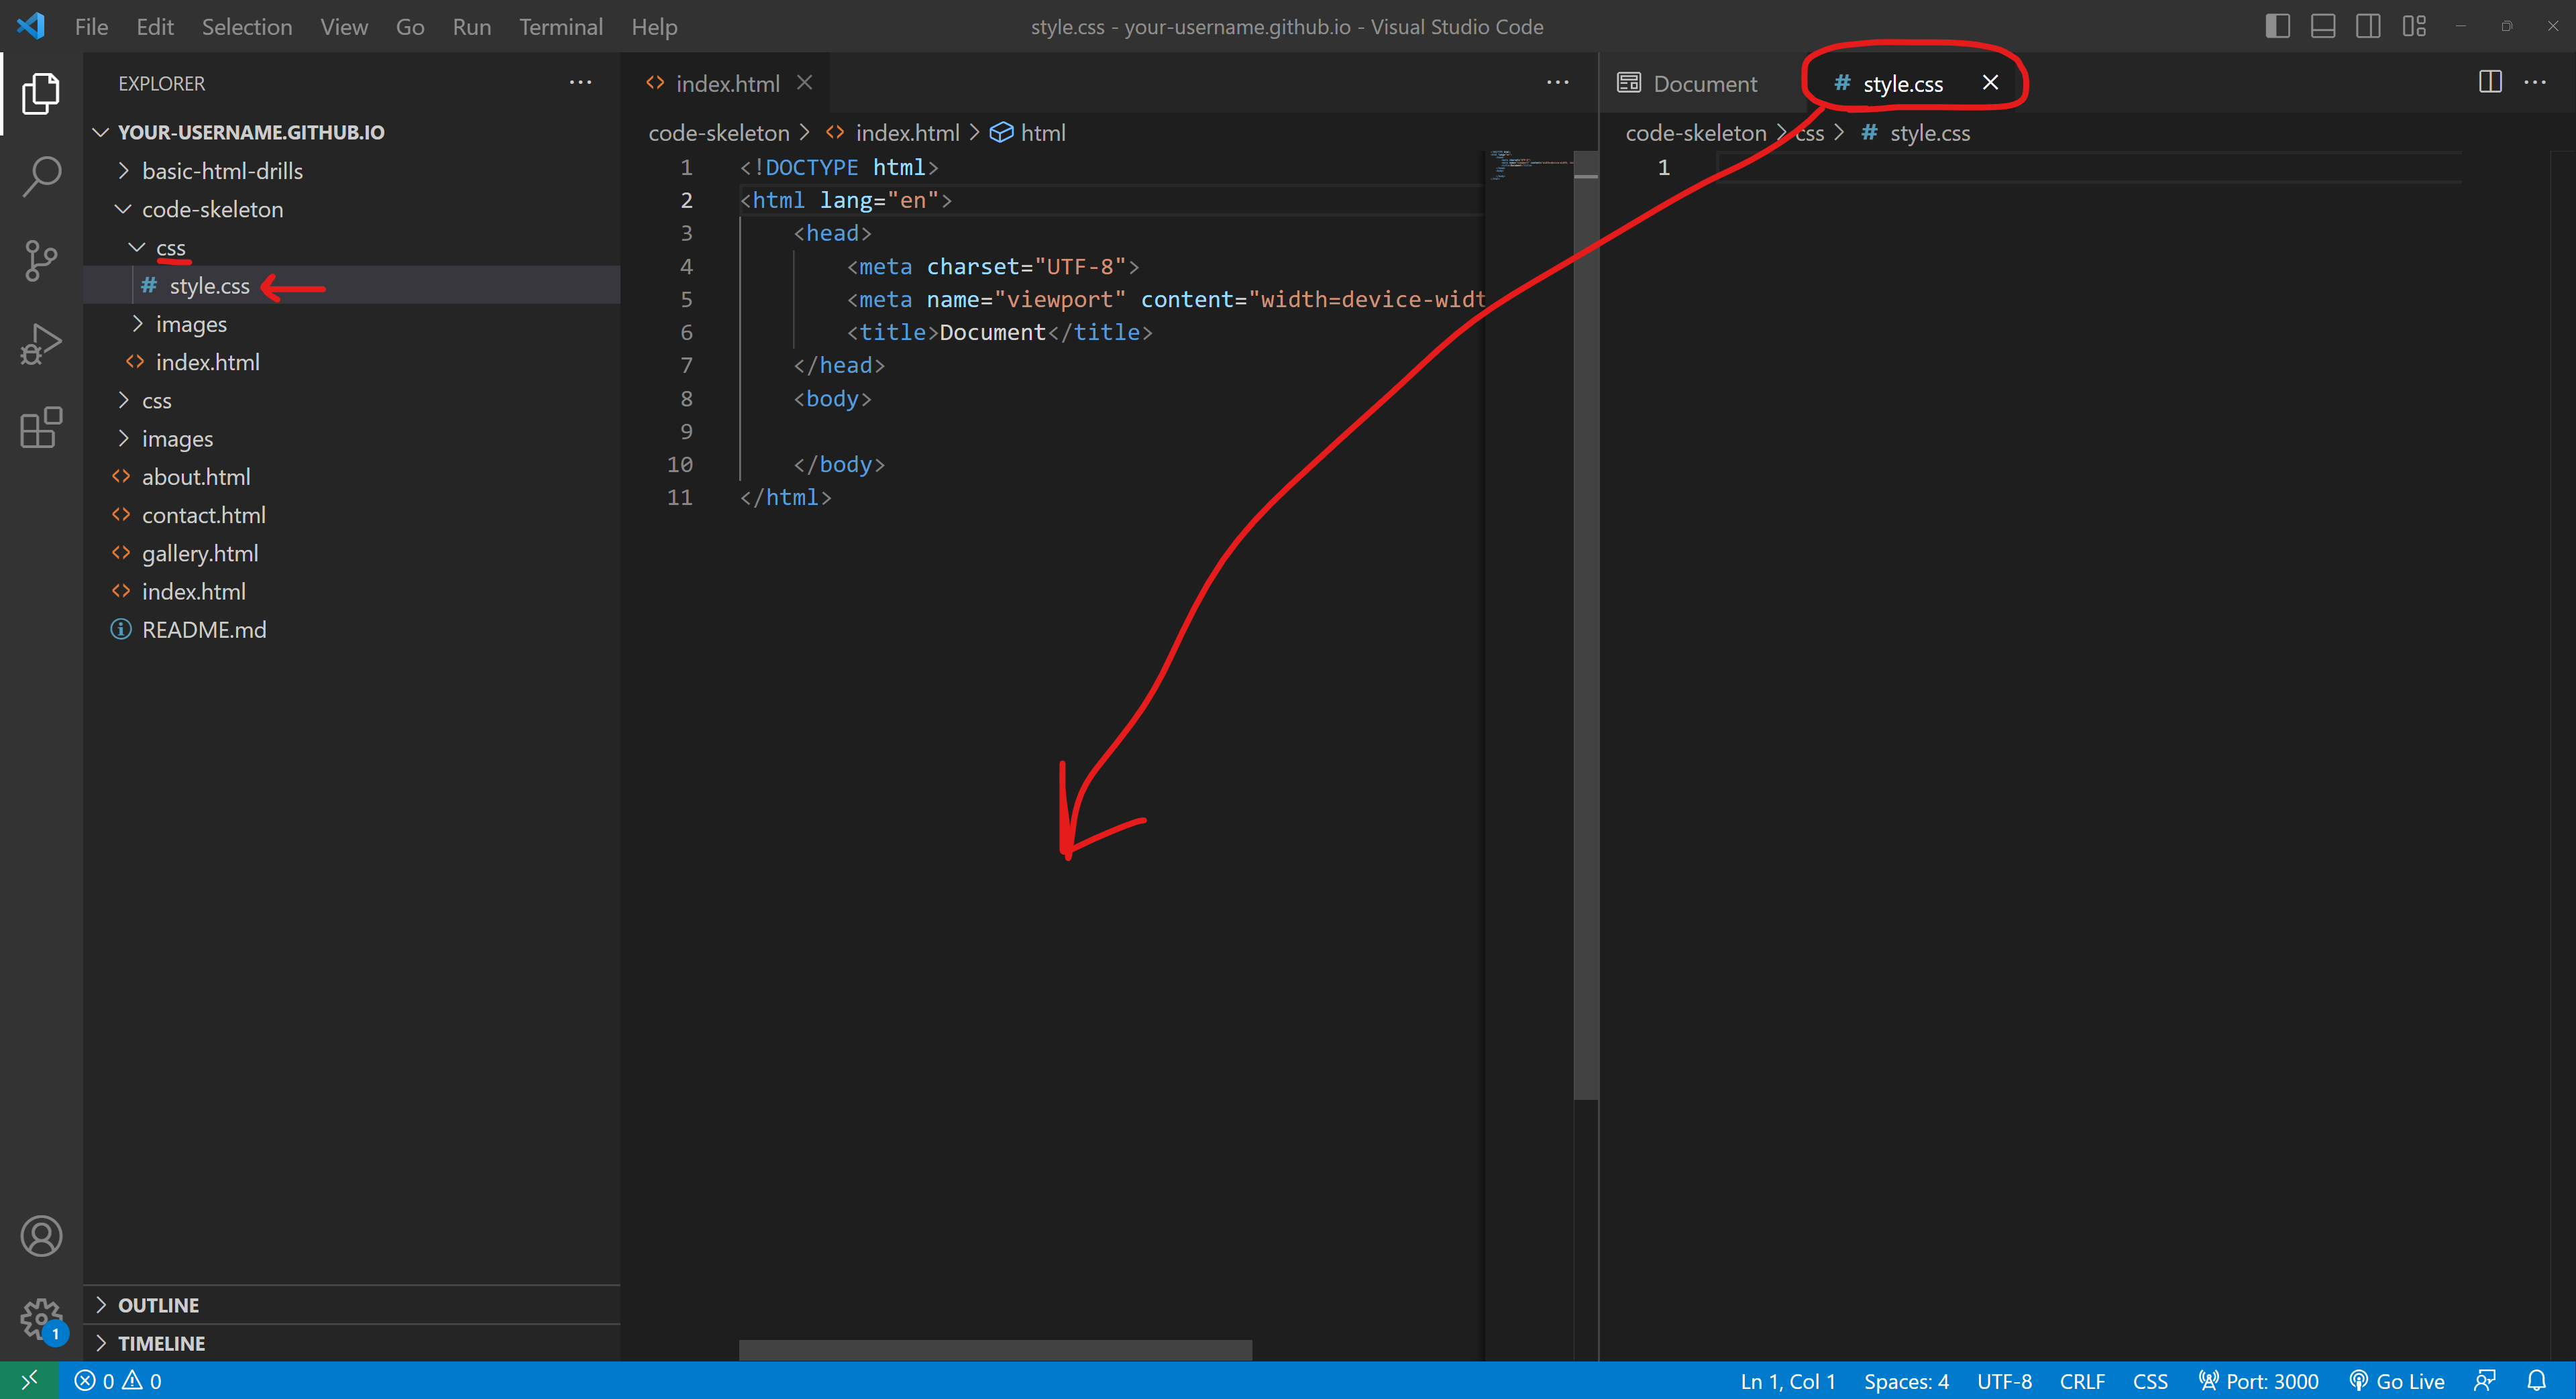
Creating style.css and preparing to move it in the workspace -
After creating the file, it will probably pop open in a new tab next to the Preview Panel.
You can configure your layout however you want, but in my case, I'm going to move the tab for style.css underneath my HTML file.
(Not sure how to do that? Check out this tutorial .)
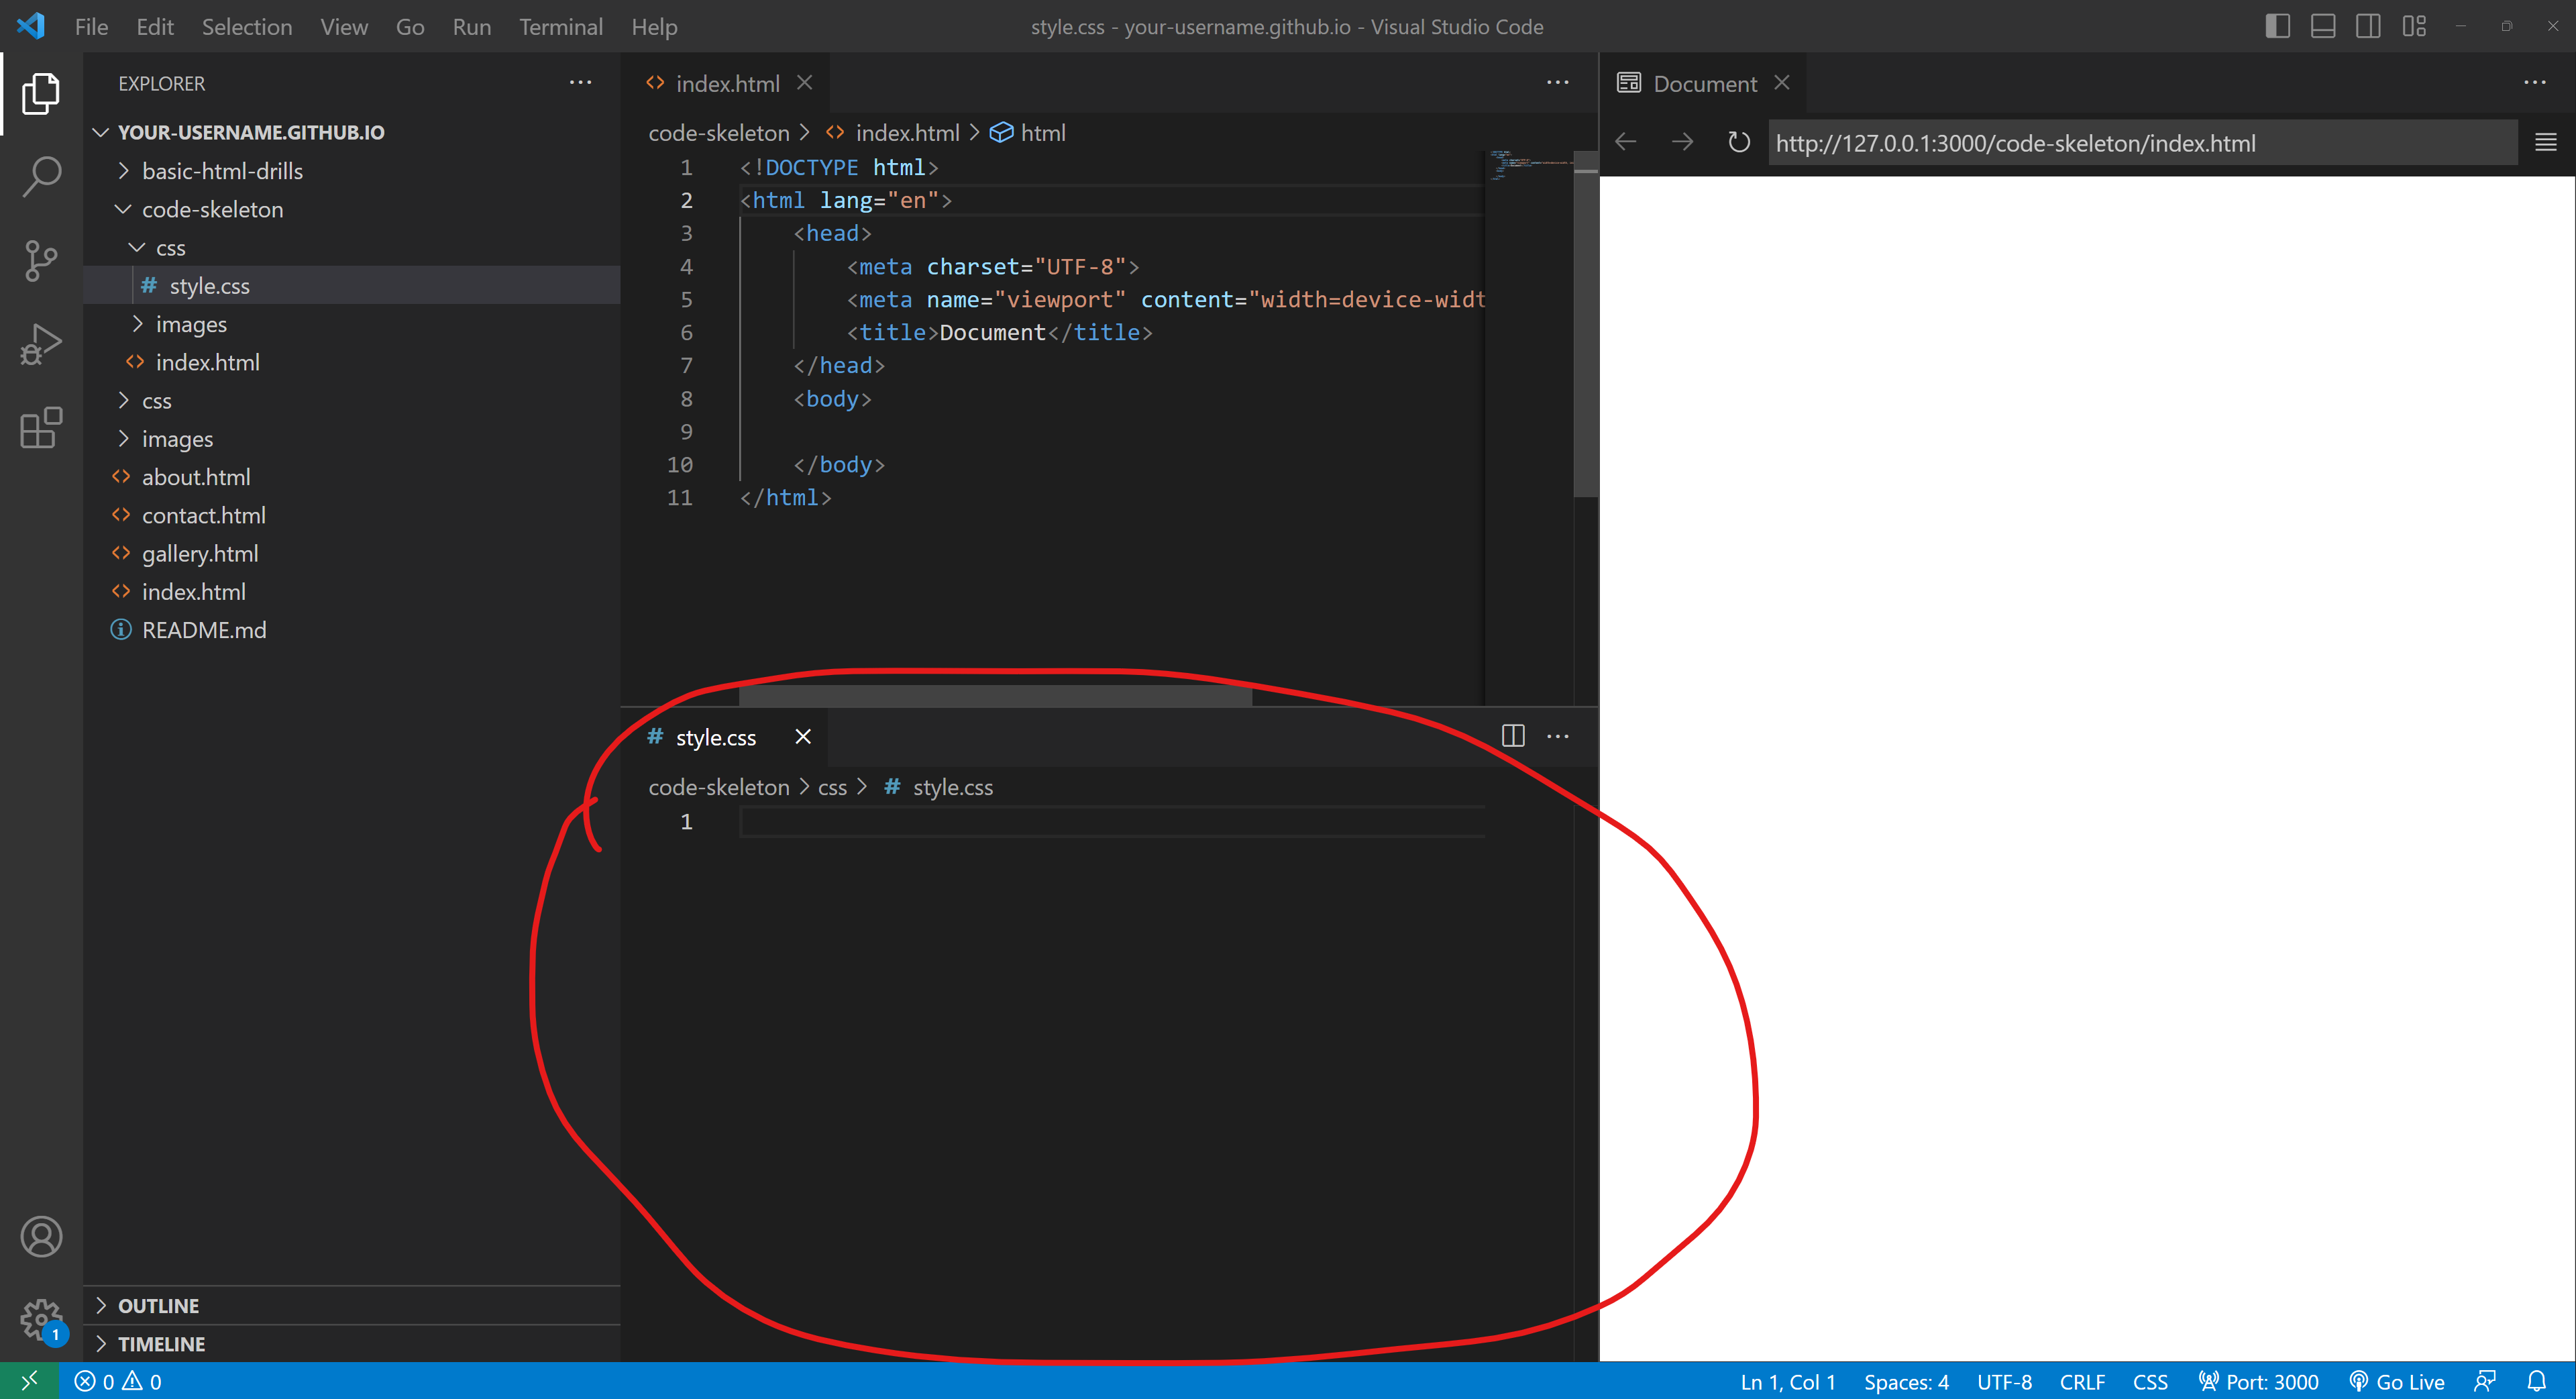
style.css after moving it in the workspace -
After successfully creating style.css, and moving it in our workspace to where we want it to be, we can now link it to our HTML.
Go back to index.html, and underneath the <title> tags, add a new <link> element.
The <link> element has two important (and required) attributes if we want to connect a CSS file to this HTML file:
- href - should be given a path to the CSS file that we want to link. In our case, that would be style.css in the css folder; in other words, "css/style.css"
- rel - short for 'relationship', this is where we specify how we intend to link the file to the HTML. We want to use the CSS as a stylesheet, so we provide the value "stylesheet".
So the finalized code snippet to add should be
<link href="css/style.css" rel="stylesheet">
as in the screenshot.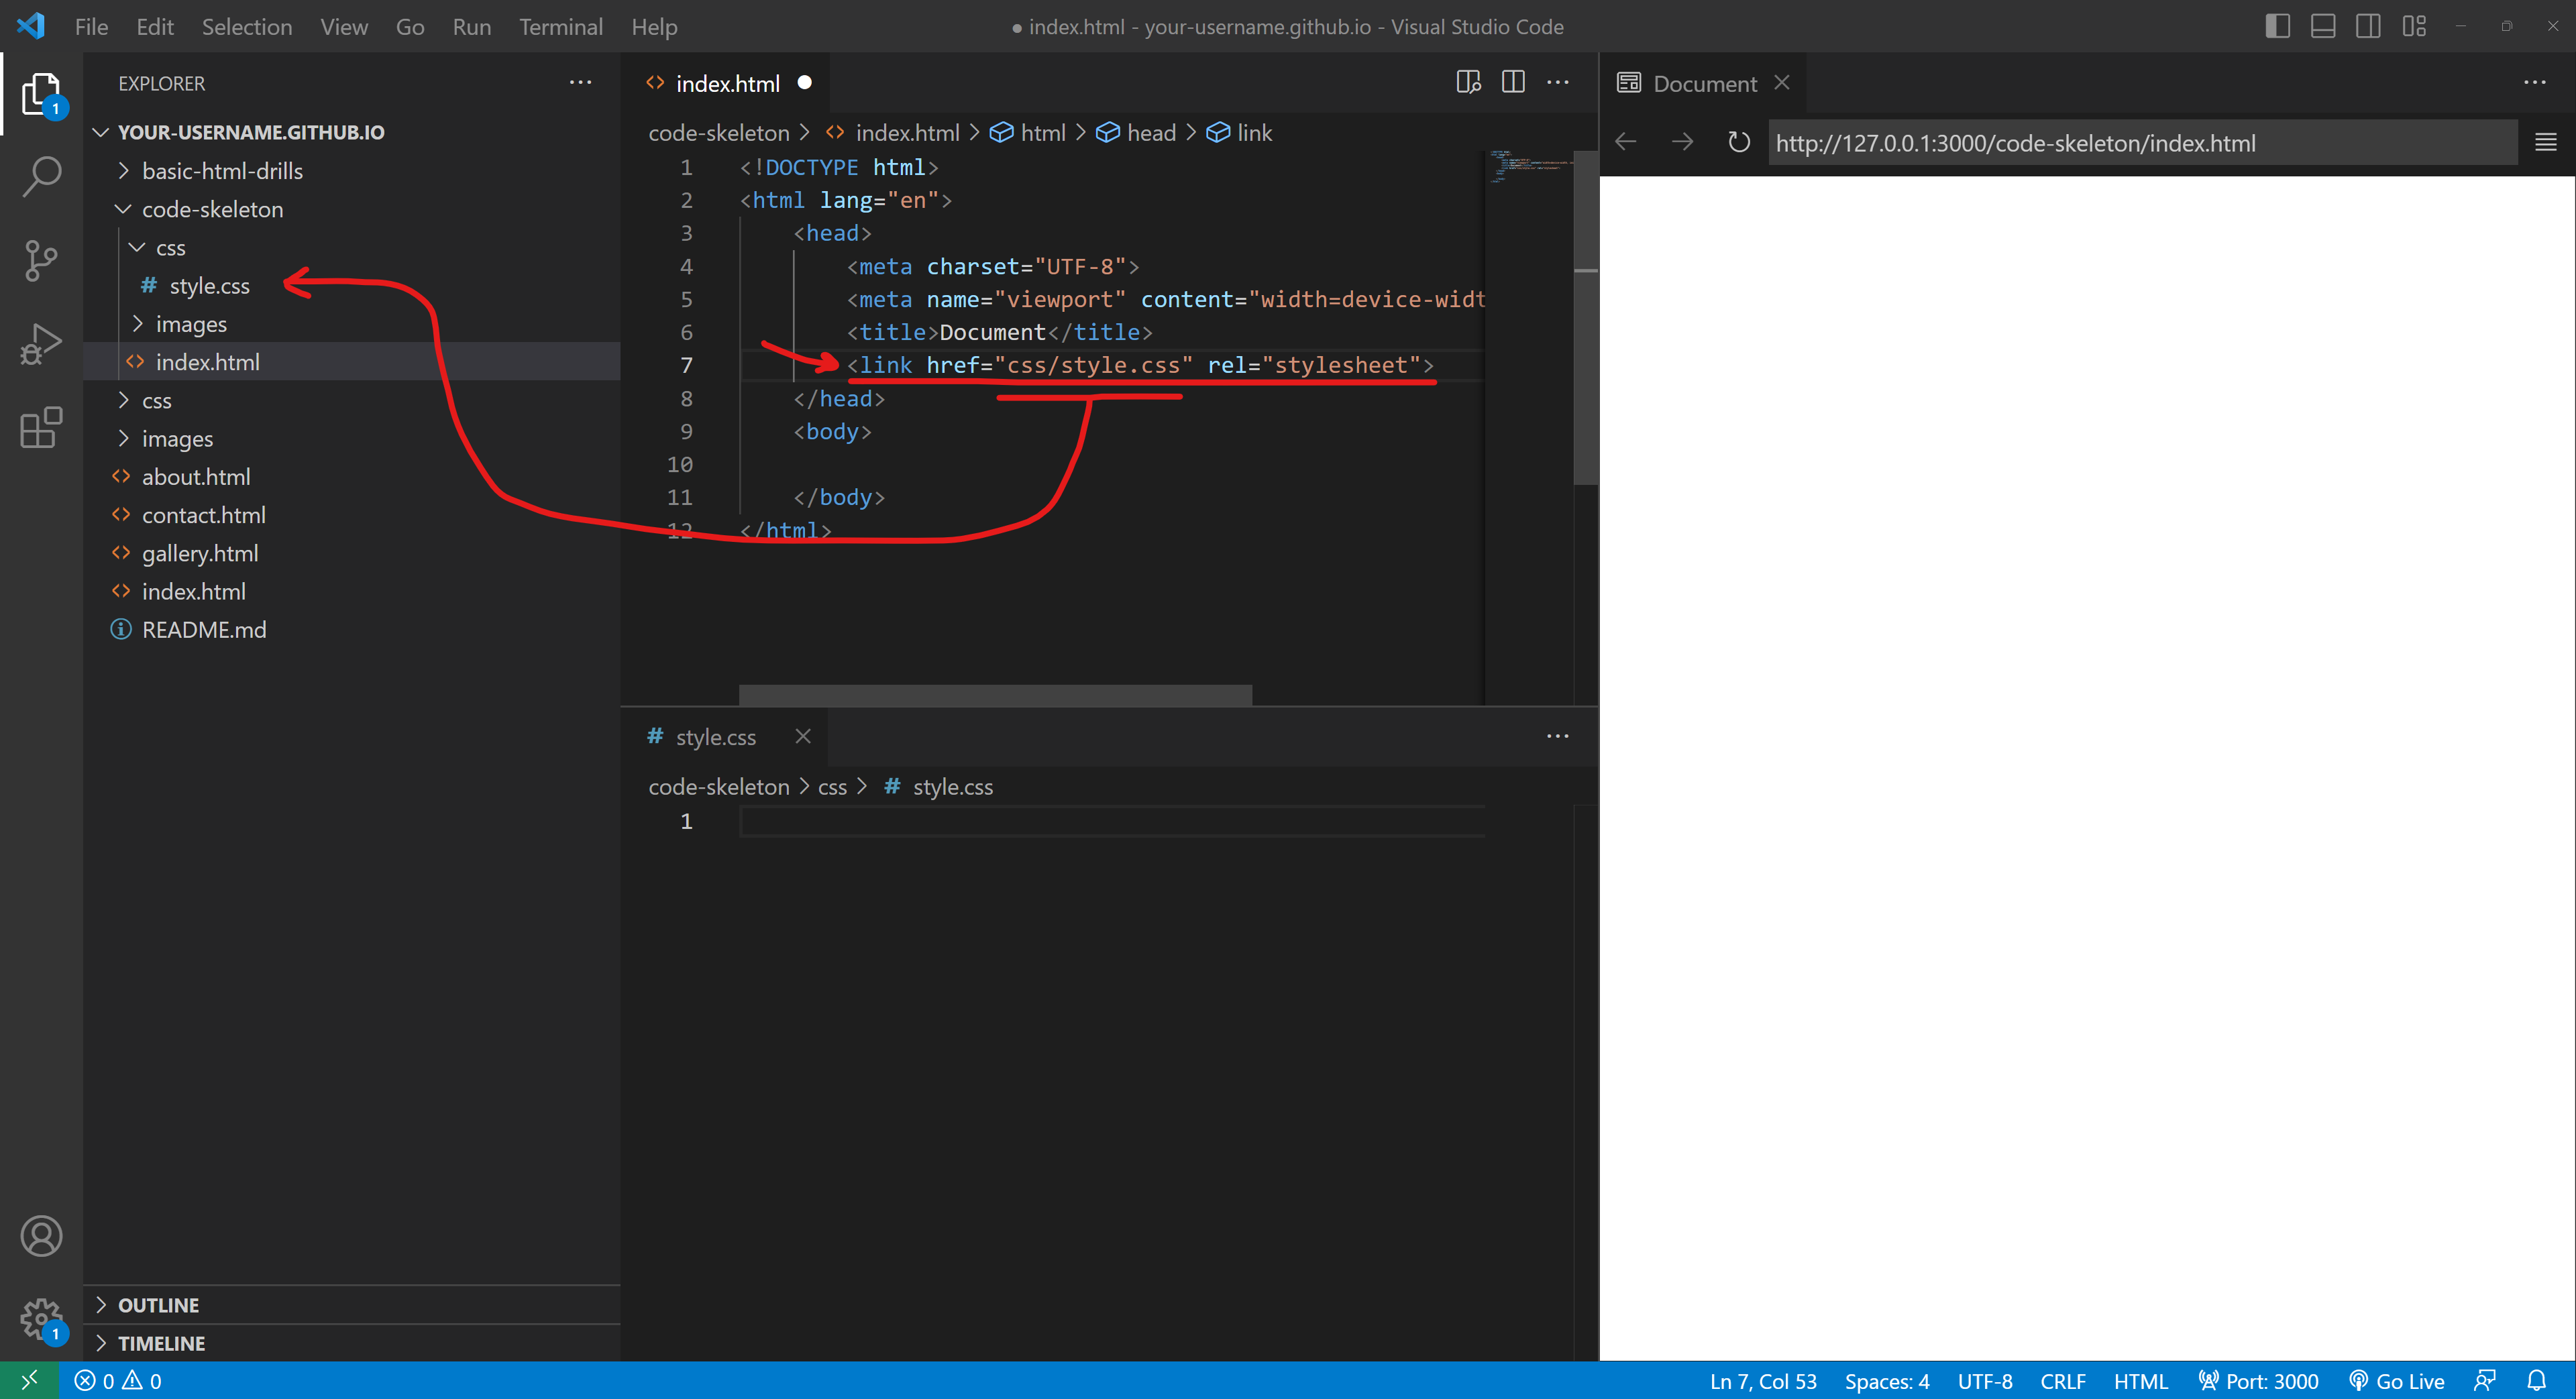
Adding the <link> element to connect the HTML and CSS -
After adding the <link> element, your CSS file should now be connected to your HTML. So let's some CSS to test out the link!
In style.css, add the following code snippet:
                                    body {


                                        background-color: red;


                                    }
After adding that, the preview window should turn bright red (or whatever other color you chose).
If it didn't, double-check that you have the correct <link> attributes, and that you have no typos compared to the code snippets above.

Testing the link between HTML and CSS -
If the color change successfully occurred, then you've confirmed that the link between your CSS and HTML is successfully connected.
...now get rid of the CSS code you wrote. :-)
We only needed it for testing, and now that we're done testing, we don't need it anymore.
After removing the code (not the style.css file, mind you), you may notice little white circles next to the file names in the tabs in your workspace.
These white circles indicate that your code changes have not been saved. You can save through the File menu, but I strongly recommend using the shortcut Cmd+S (or Ctrl+S for PC users) to save time.
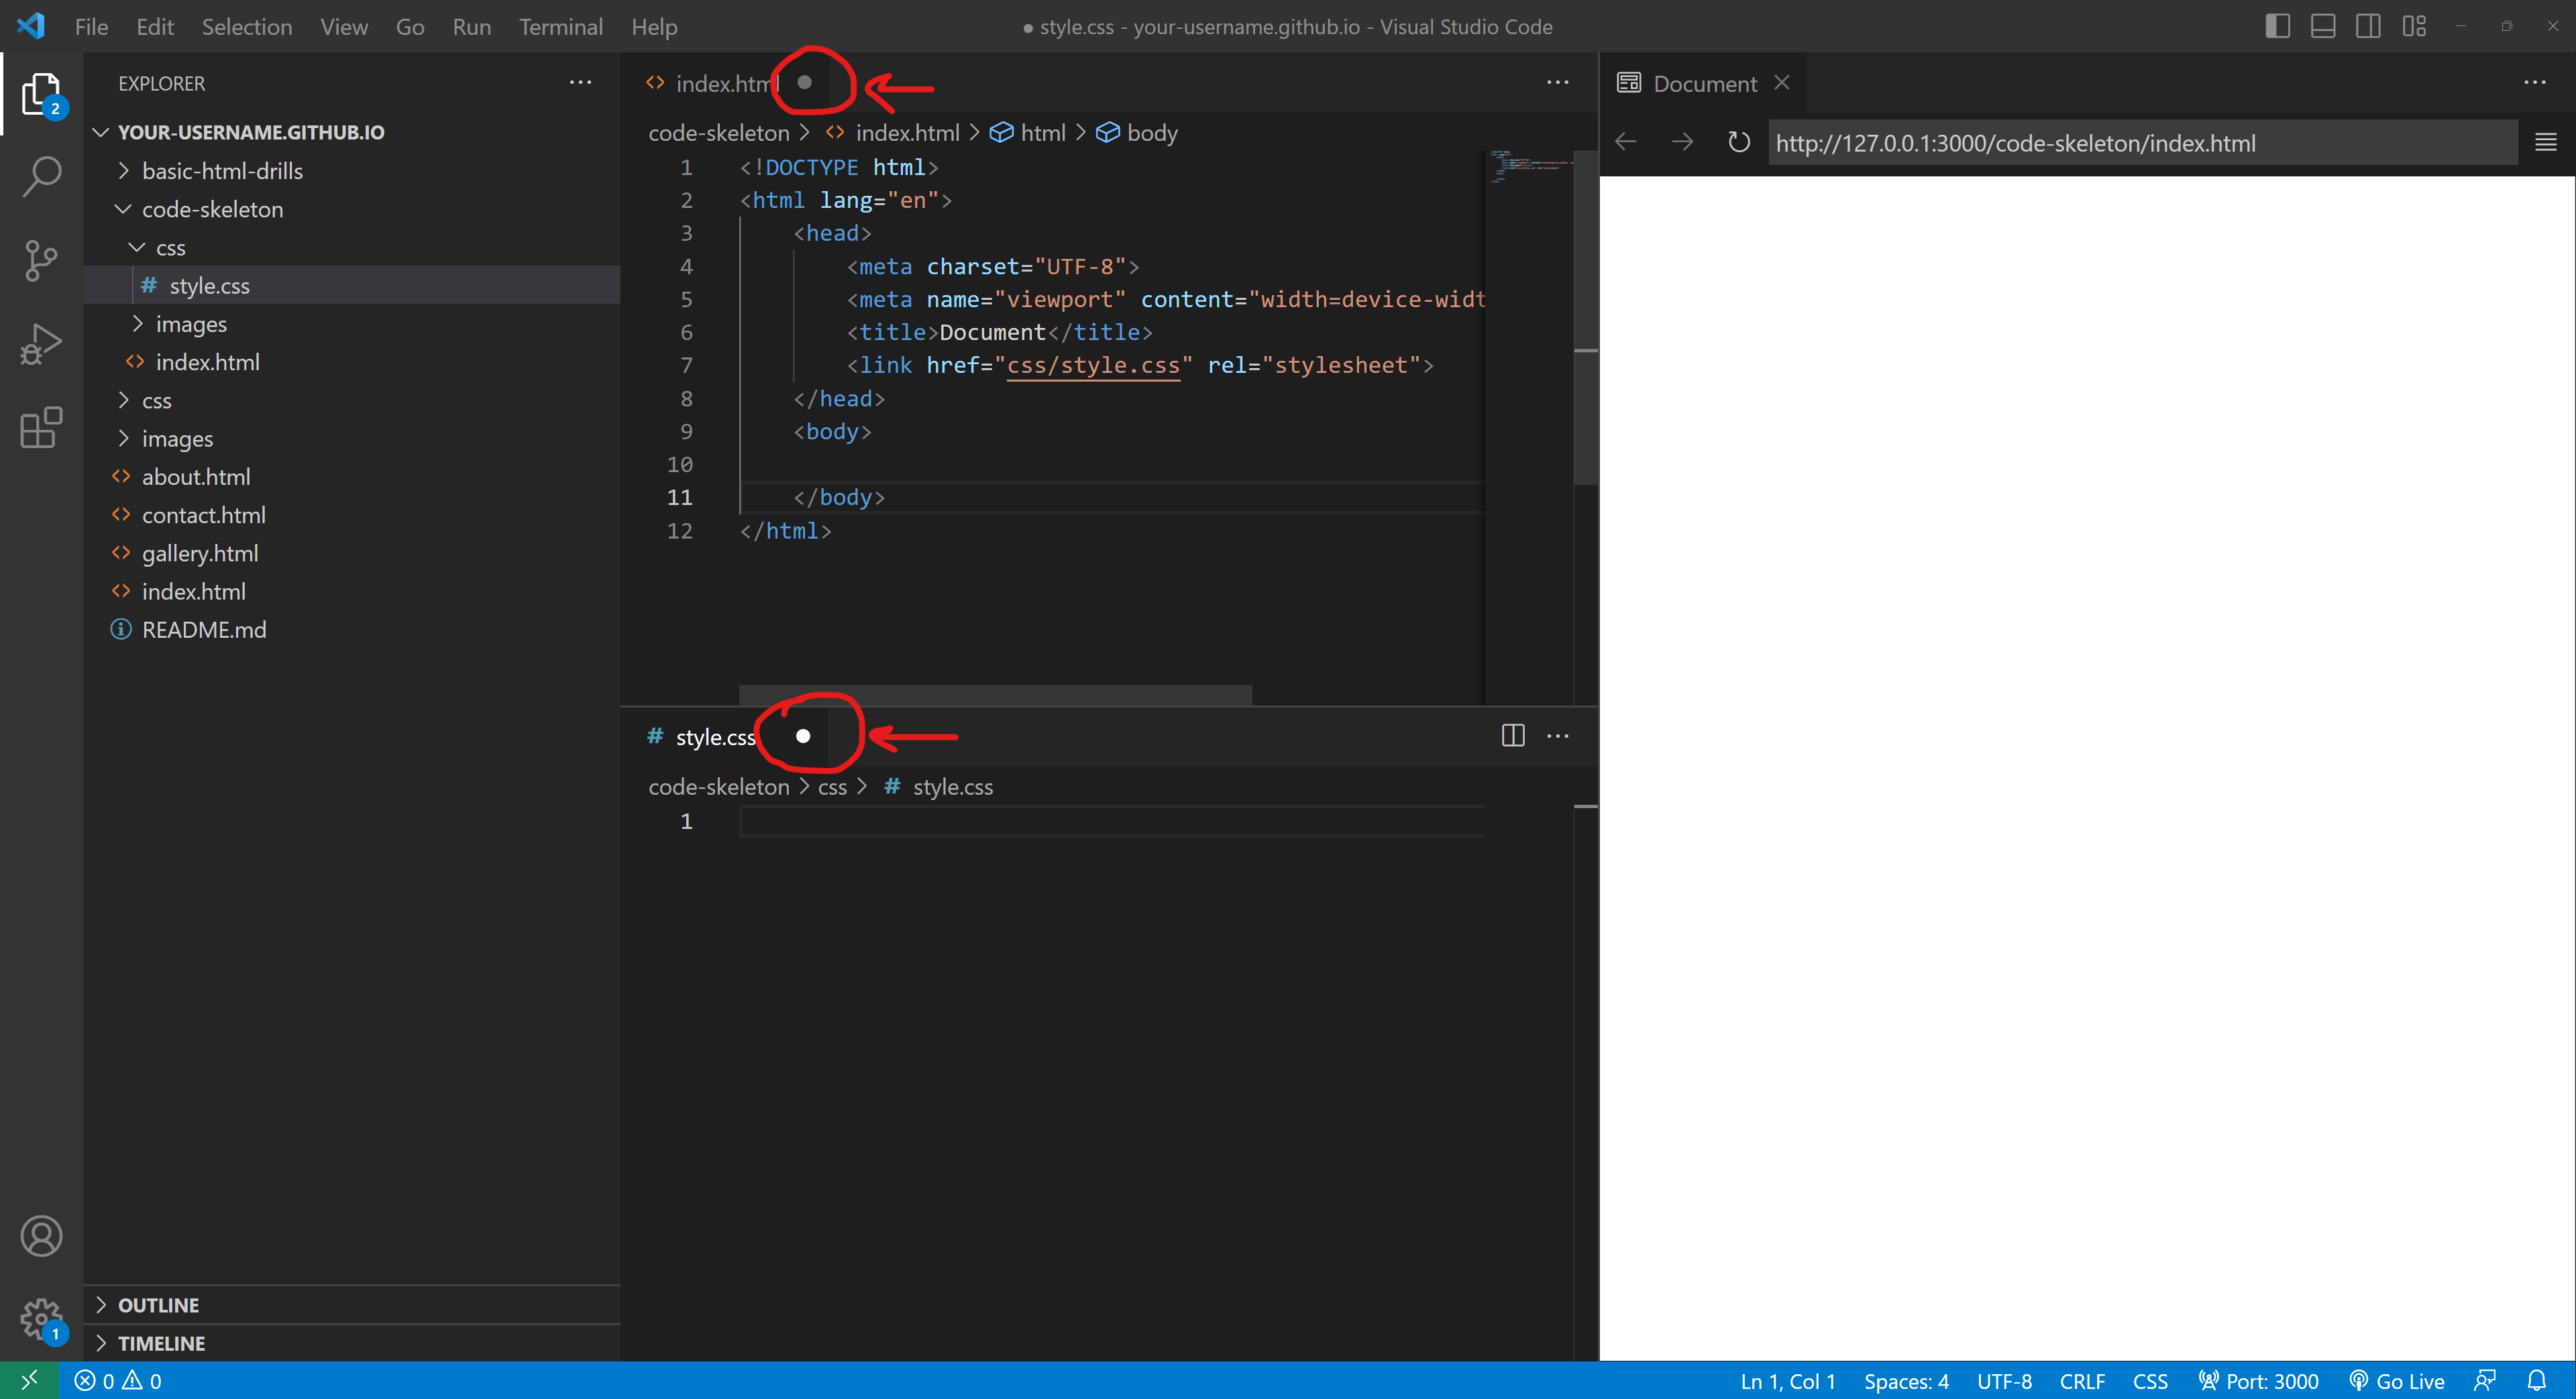
Saving your code changes -
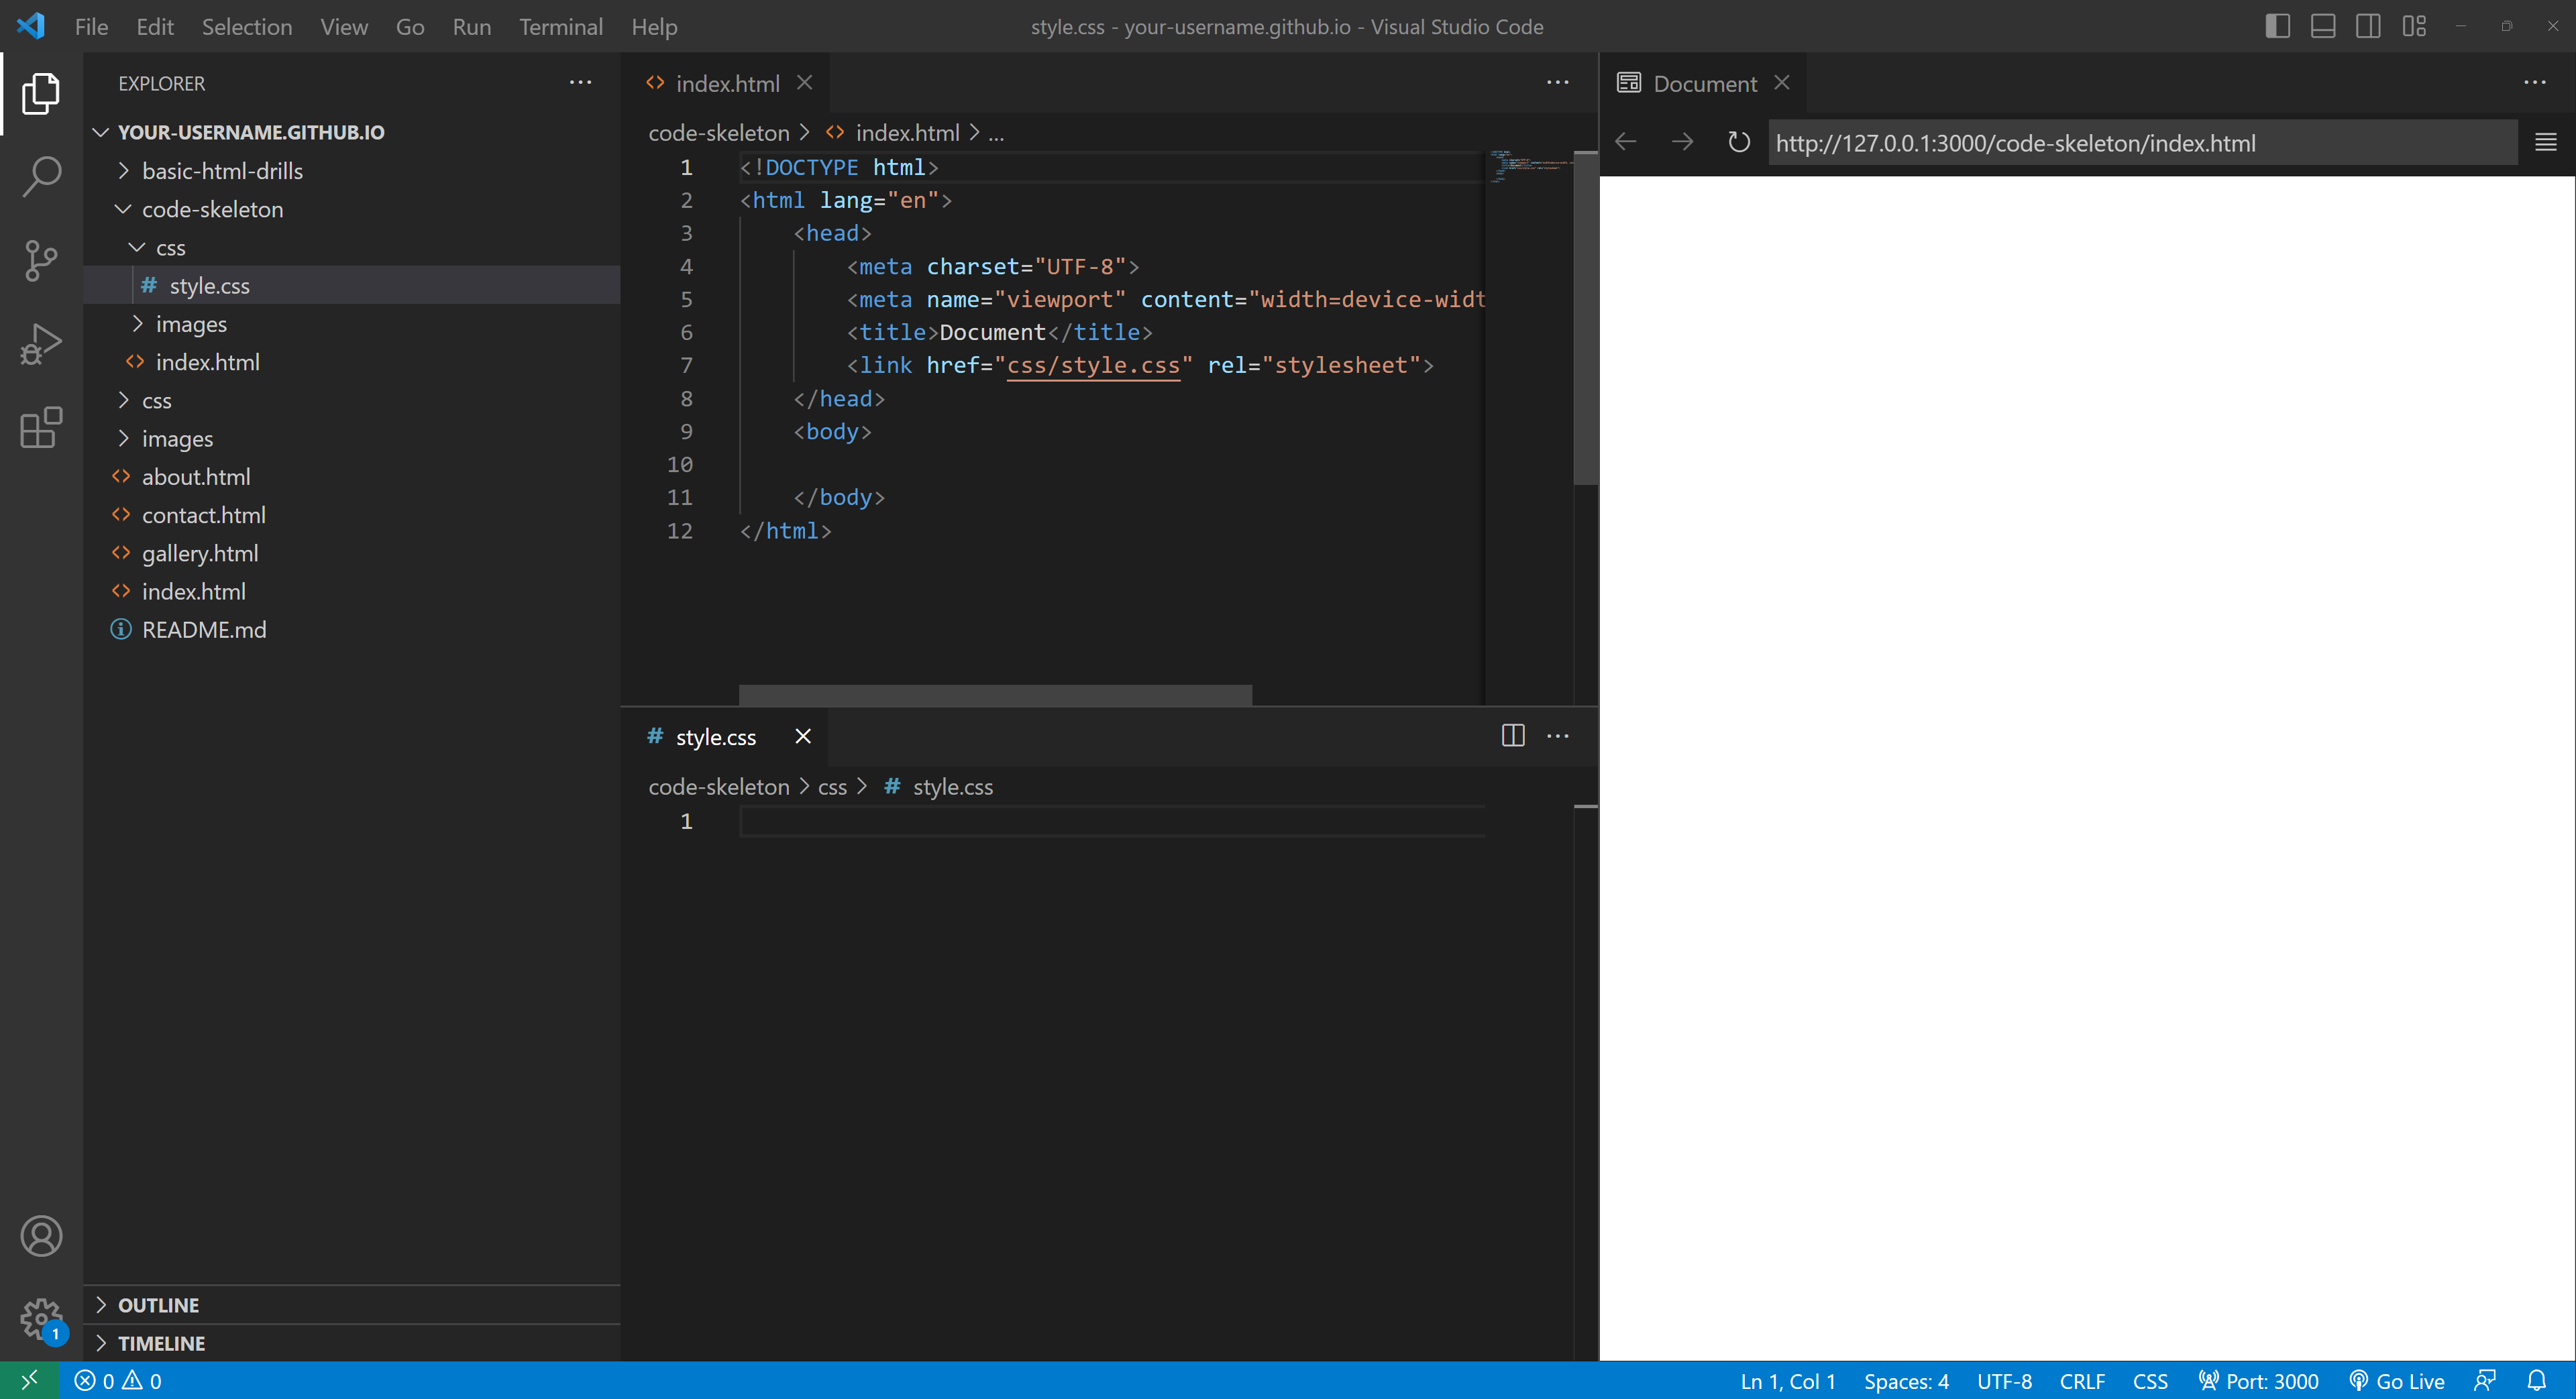
After saving, the white circle should change back to a white X.
(If it didn't make sure you click in the file's code before you try to save.)
With that, you should be good to go for future assignments that require you to duplicate the code-skeleton!
Just be sure to commit and push your code changes in GitHub Desktop, to ensure you truly have them saved and backed up.
All done!