PART 1
Pantheon Account
Your Hosting Provider for the Course
-
In order to create a web site on the Internet, you first need to find someone/something to host it for you.
The hosting provider we're going to be using for this first week of CMS is called Pantheon.
Start by visiting the following link:
Then, click the big yellow "Get Started" button on that page, which will navigate you to another page.
Click the purple-ish "Create my account" button to start creating your account.

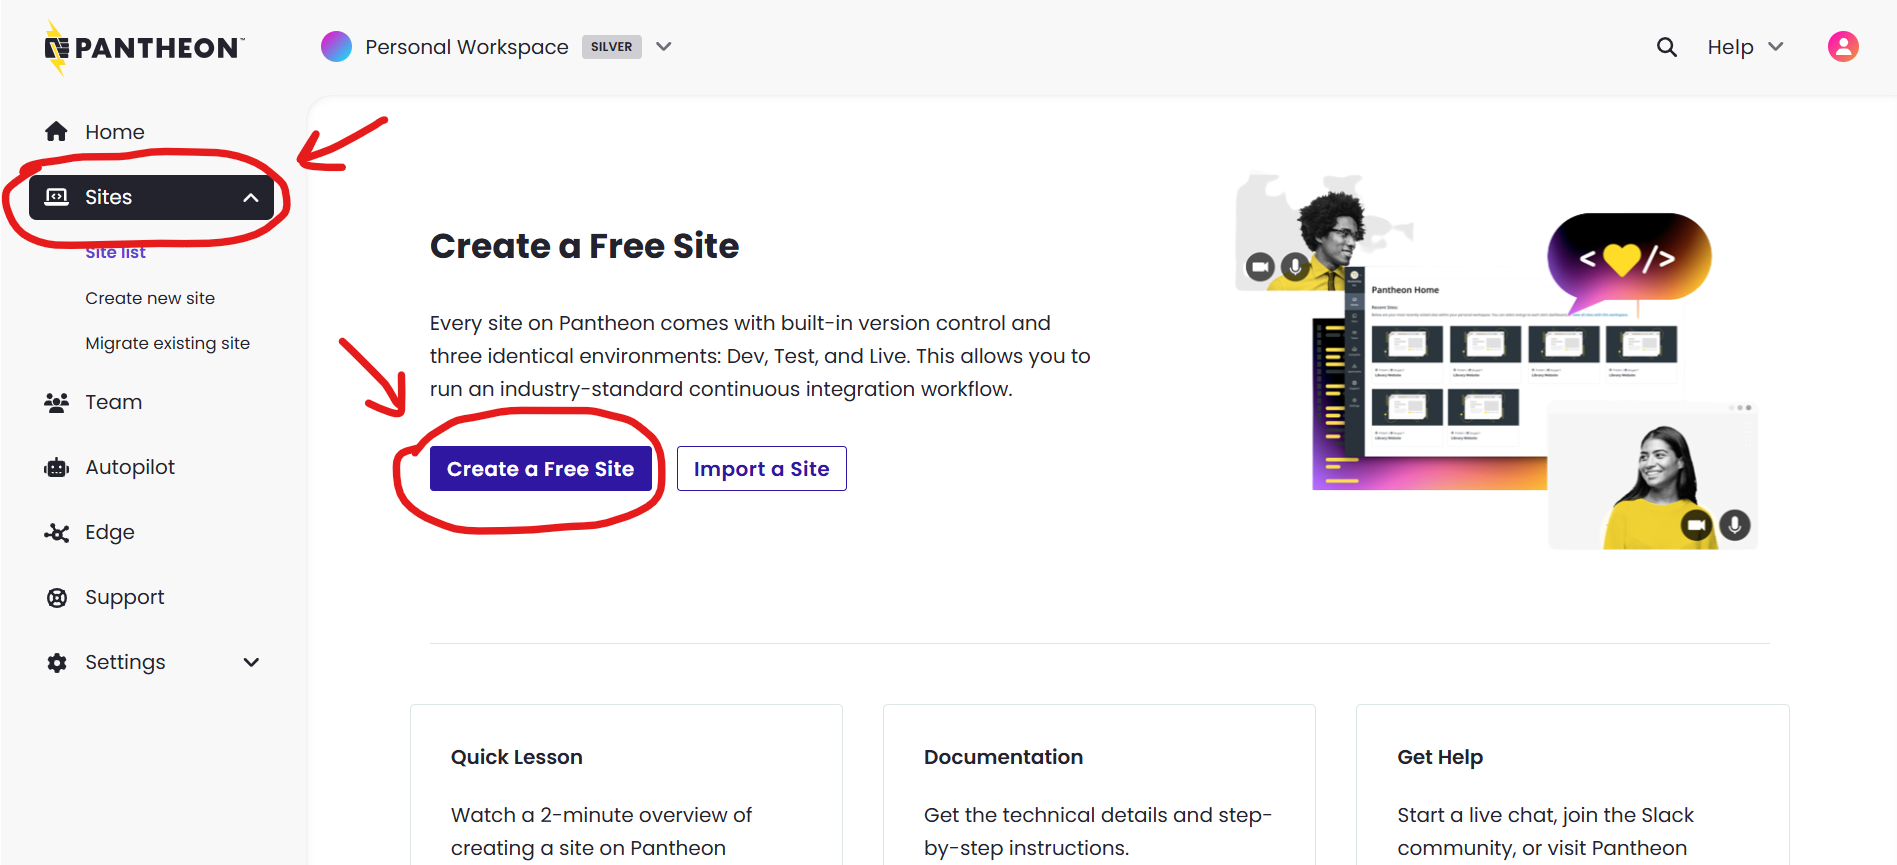
Click the "Get Started" button on the Pantheon Home page 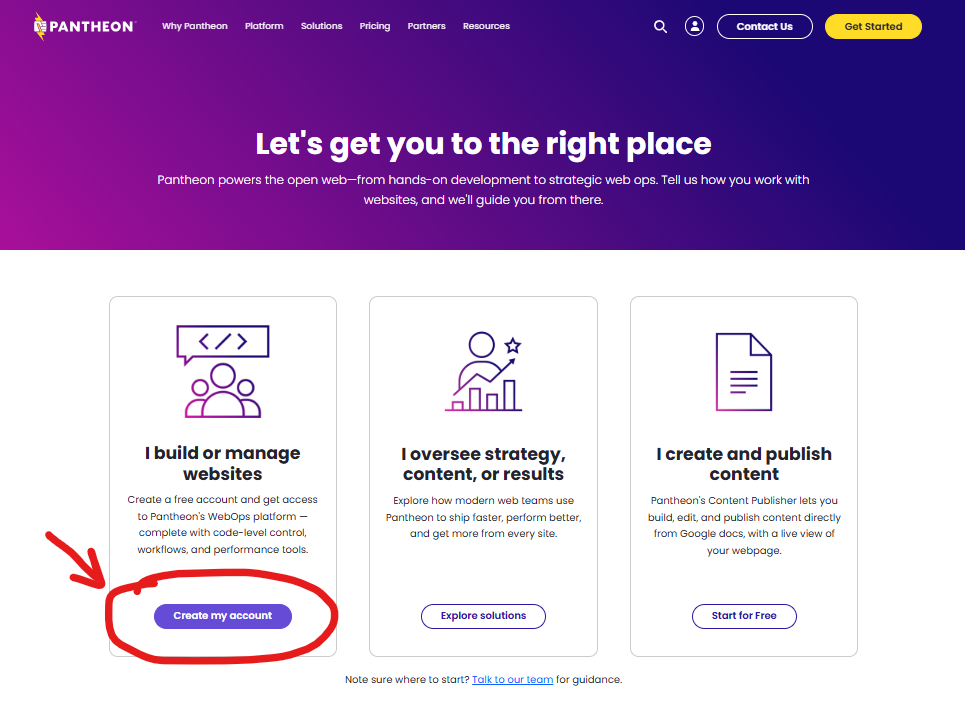
Click the "Create my account" button on the next page -
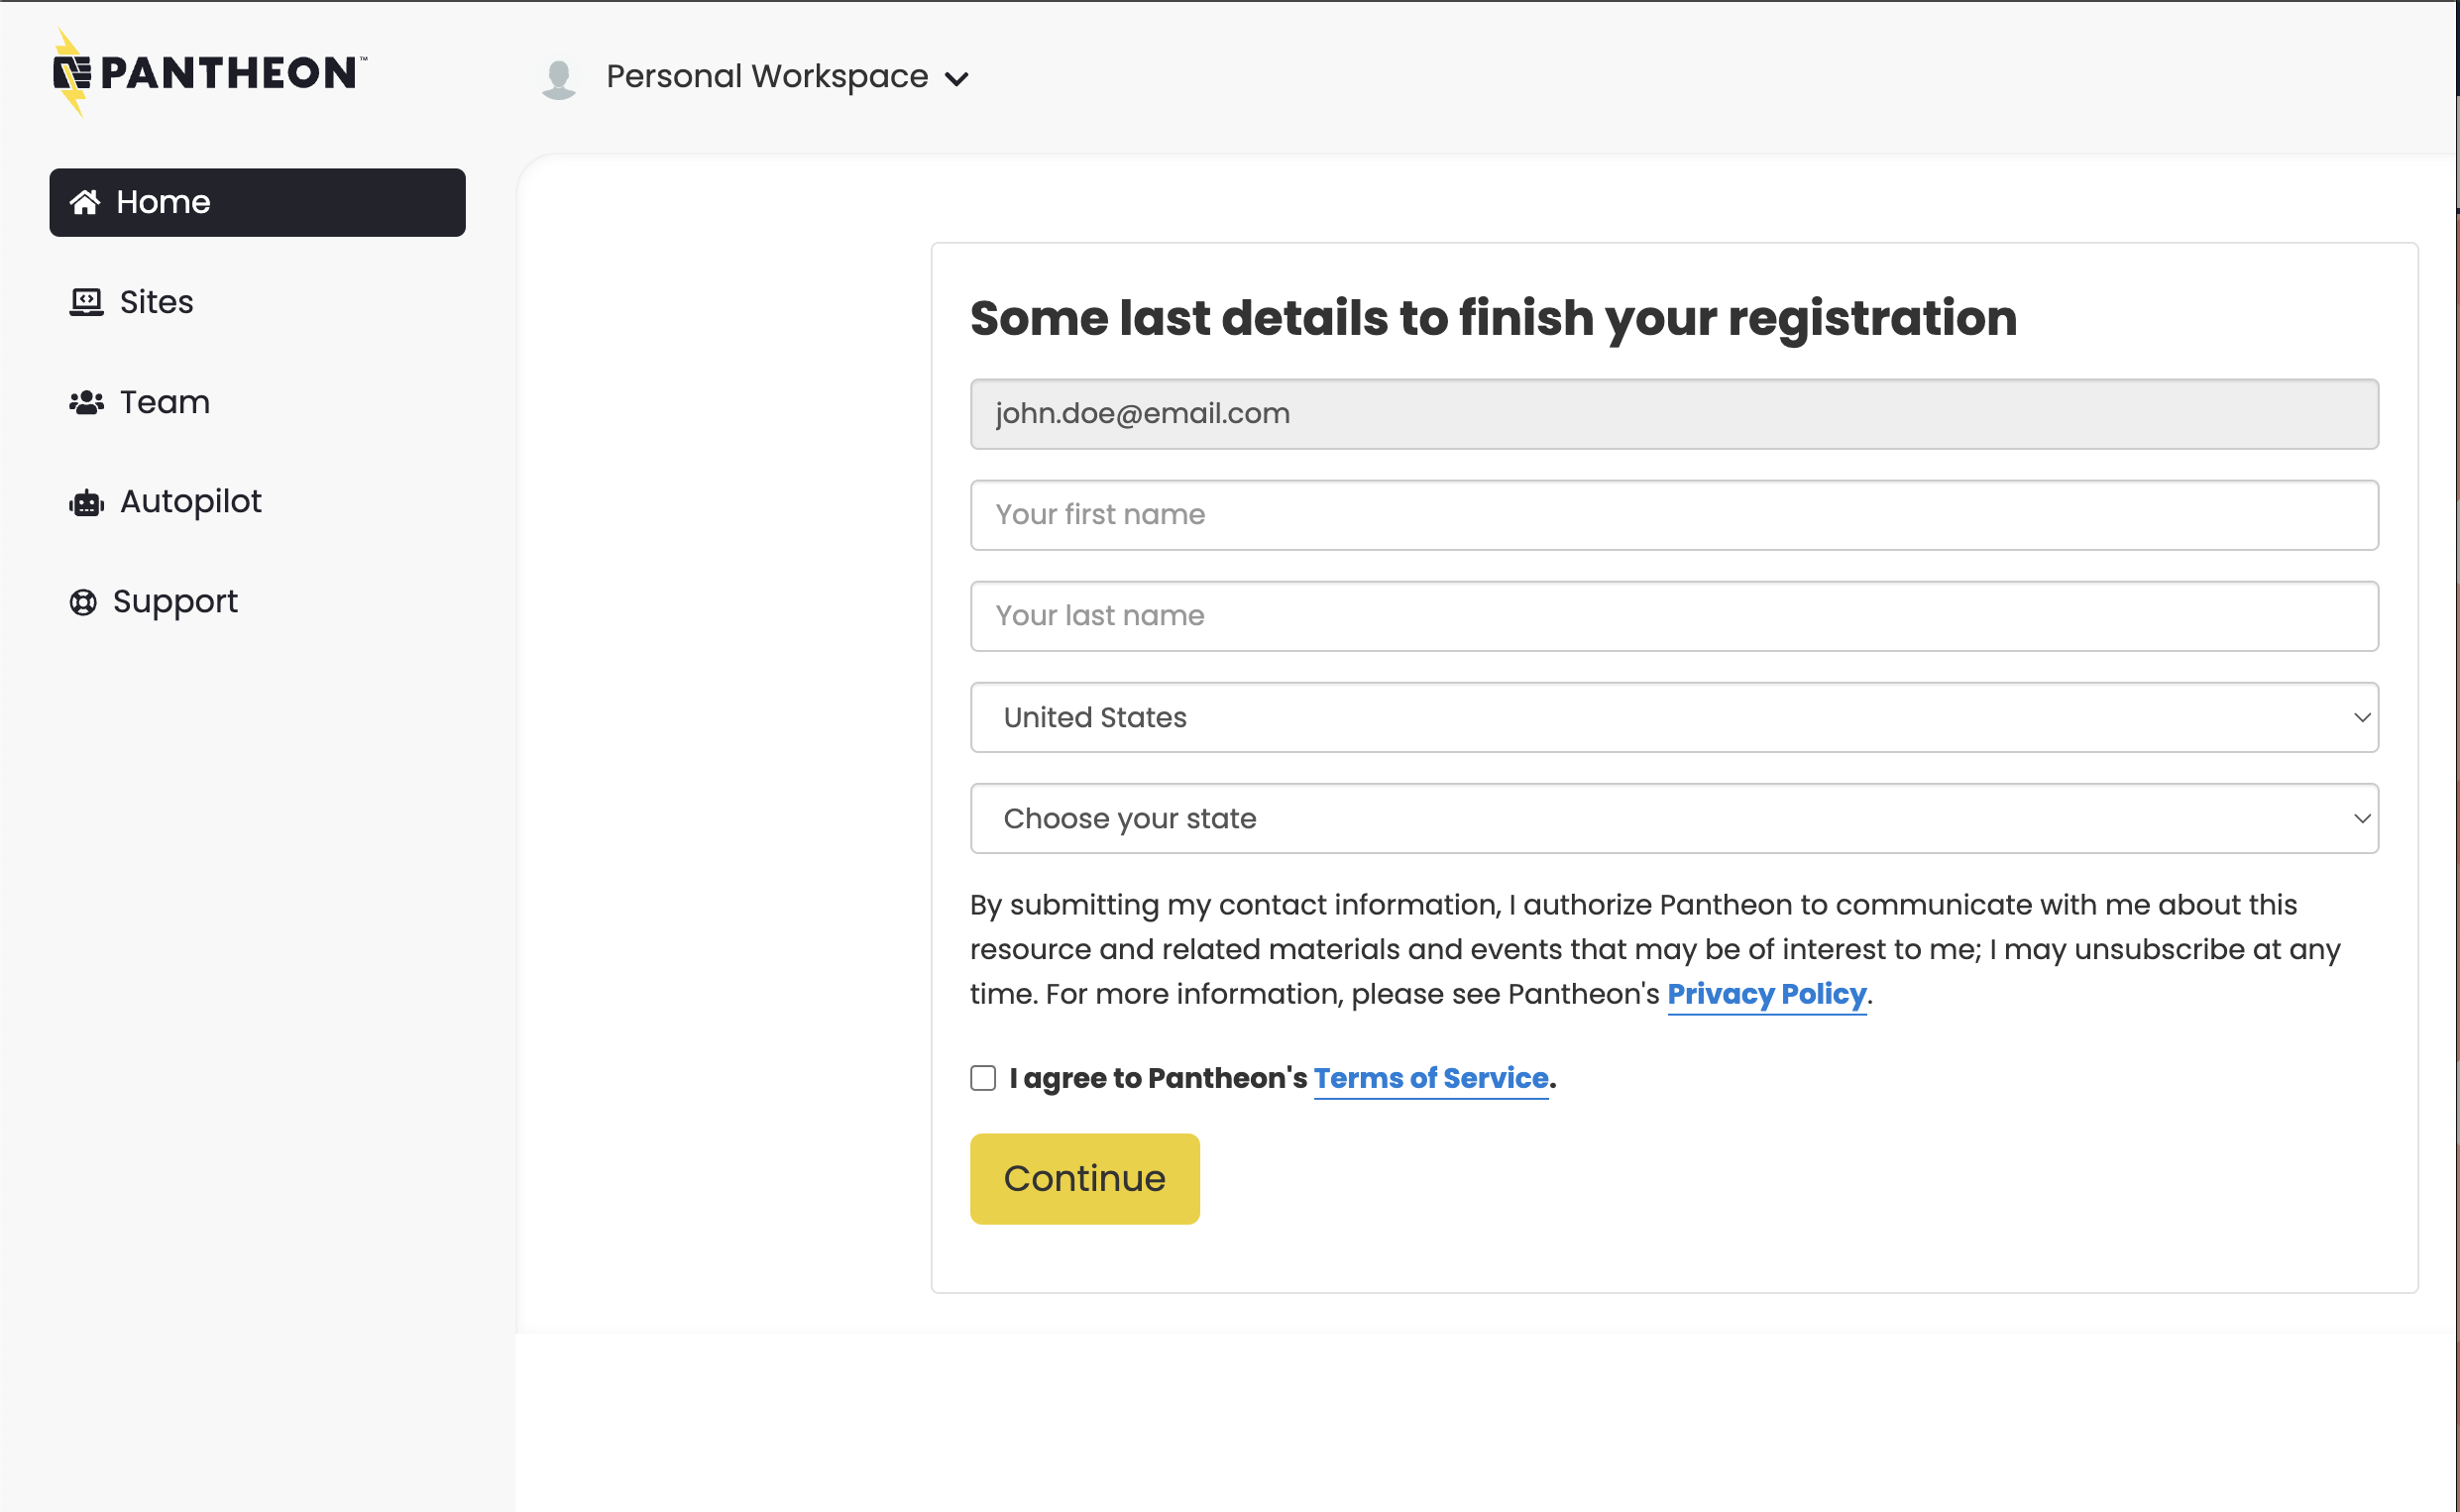
On the next page(s), fill out the required information to create your Pantheon account.
You can sign up with your Google account, or an email address. Choose whichever method you're most comfortable with.
If you choose to sign up with an email address, you may be required to verify that email address, so be sure to pick an email address with an Inbox you have access to.

Fill out the required data fields to create your account, or use Google to sign up -
After entering your email, you'll be asked to fill out a bit more information to finish creating your account.
You will probably be asked to enter your name, country, and state.
You may also be asked to enter your role, in which case, you would choose the "Student" option.
NOTE: Pantheon changes their account creation flow a couple times a year, so what you see as you sign up may look a little different than the screenshot. That's okay, just fill out the required fields that it needs from you.
Fill out the required fields, and keep progressing through the account creation flow until you are done, and have logged in to your new account.
Completing your Pantheon Account registration -
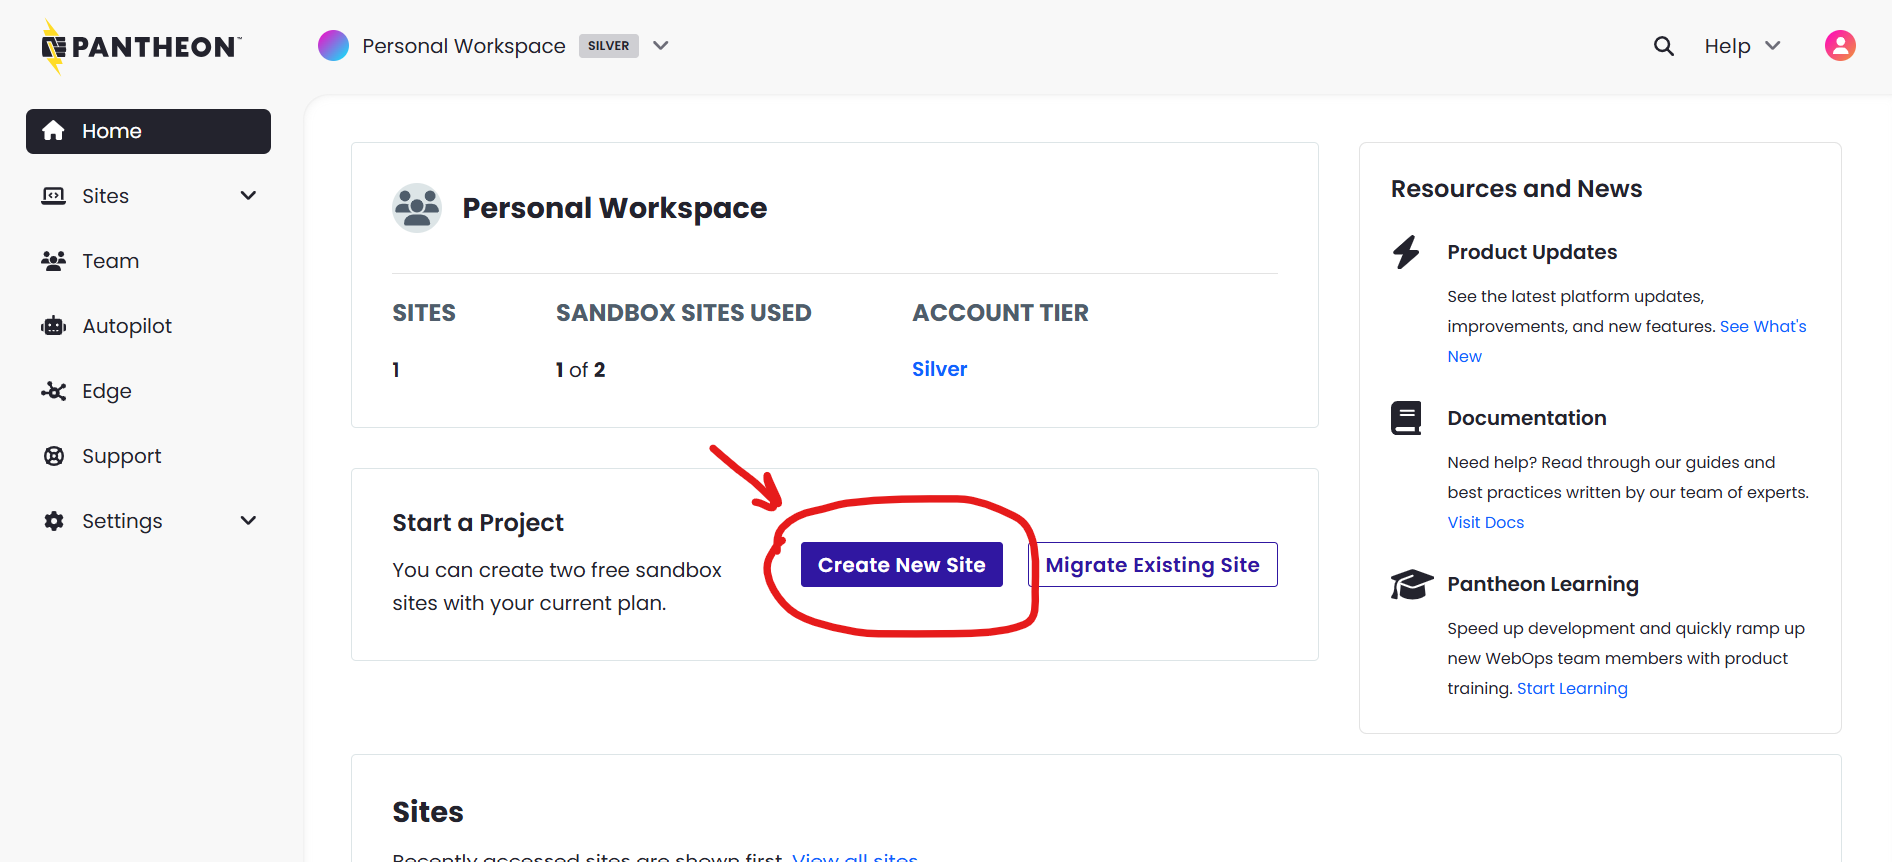
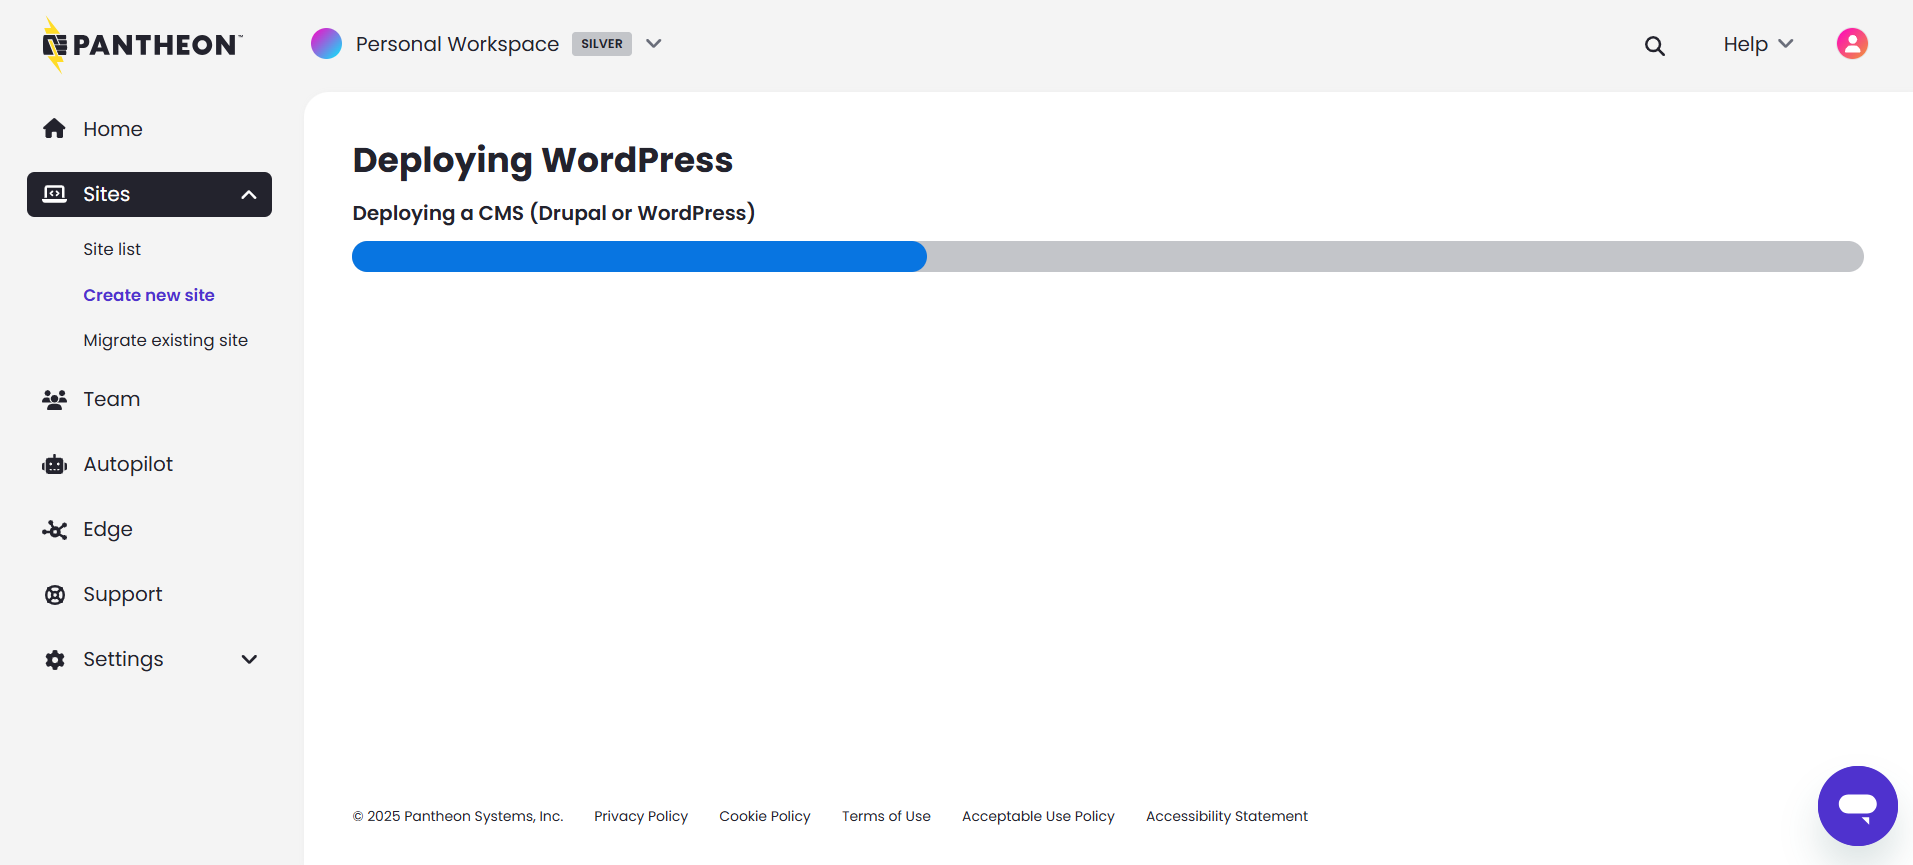
After logging in, you'll be brought to your Pantheon Home page, which should somewhat resemble the screenshot to the right.
NOTE: However, as we've said before, Pantheon changes up their account creation flow periodically, so you may end up on a slightly different view after creating your account.
If that is the case, just click on the "Home" tab in the left sidenav, and that should bring you to where you need to be.
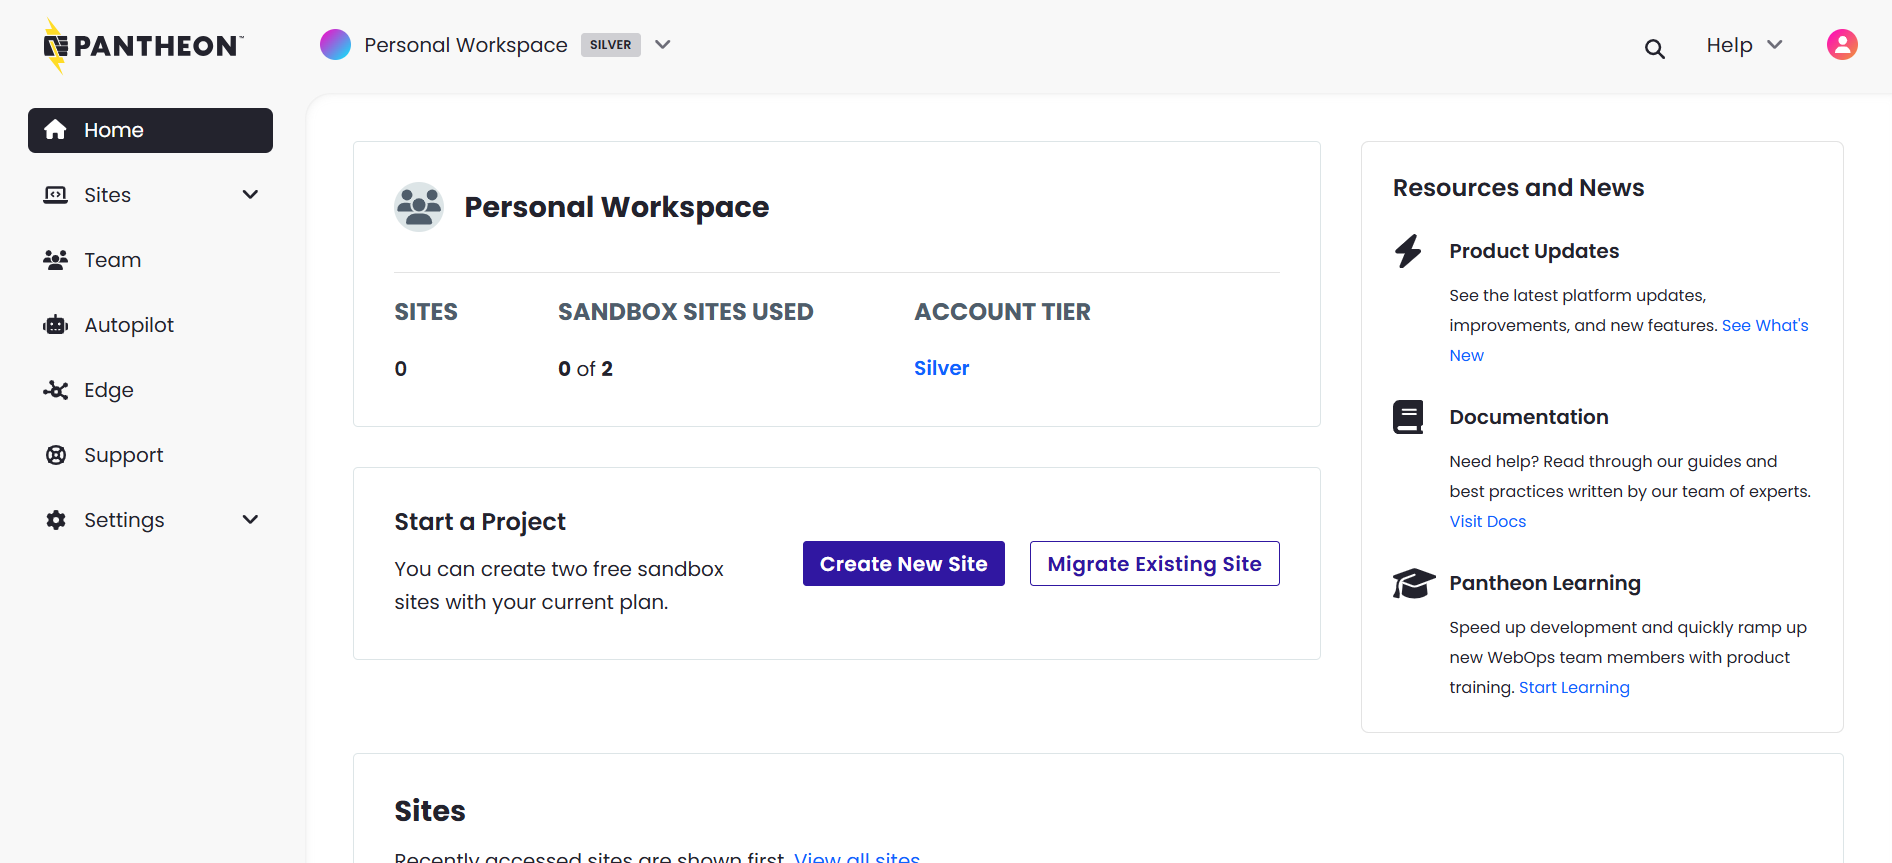
Your Pantheon Home page